With the Online Booking feature, patients can independently choose the date, time, provider, and services at your clinic. This allows appointments to be automatically added to the Cliniccards schedule. After a booking is completed, the visit is automatically created in the clinic schedule.
To set up online patient booking in Cliniccards, follow these steps:
1. Enable the Manage online booking access permission for the specialist who will configure Online Booking. Only a specialist with this access permission will be able to proceed with the next steps and activate Online Booking.
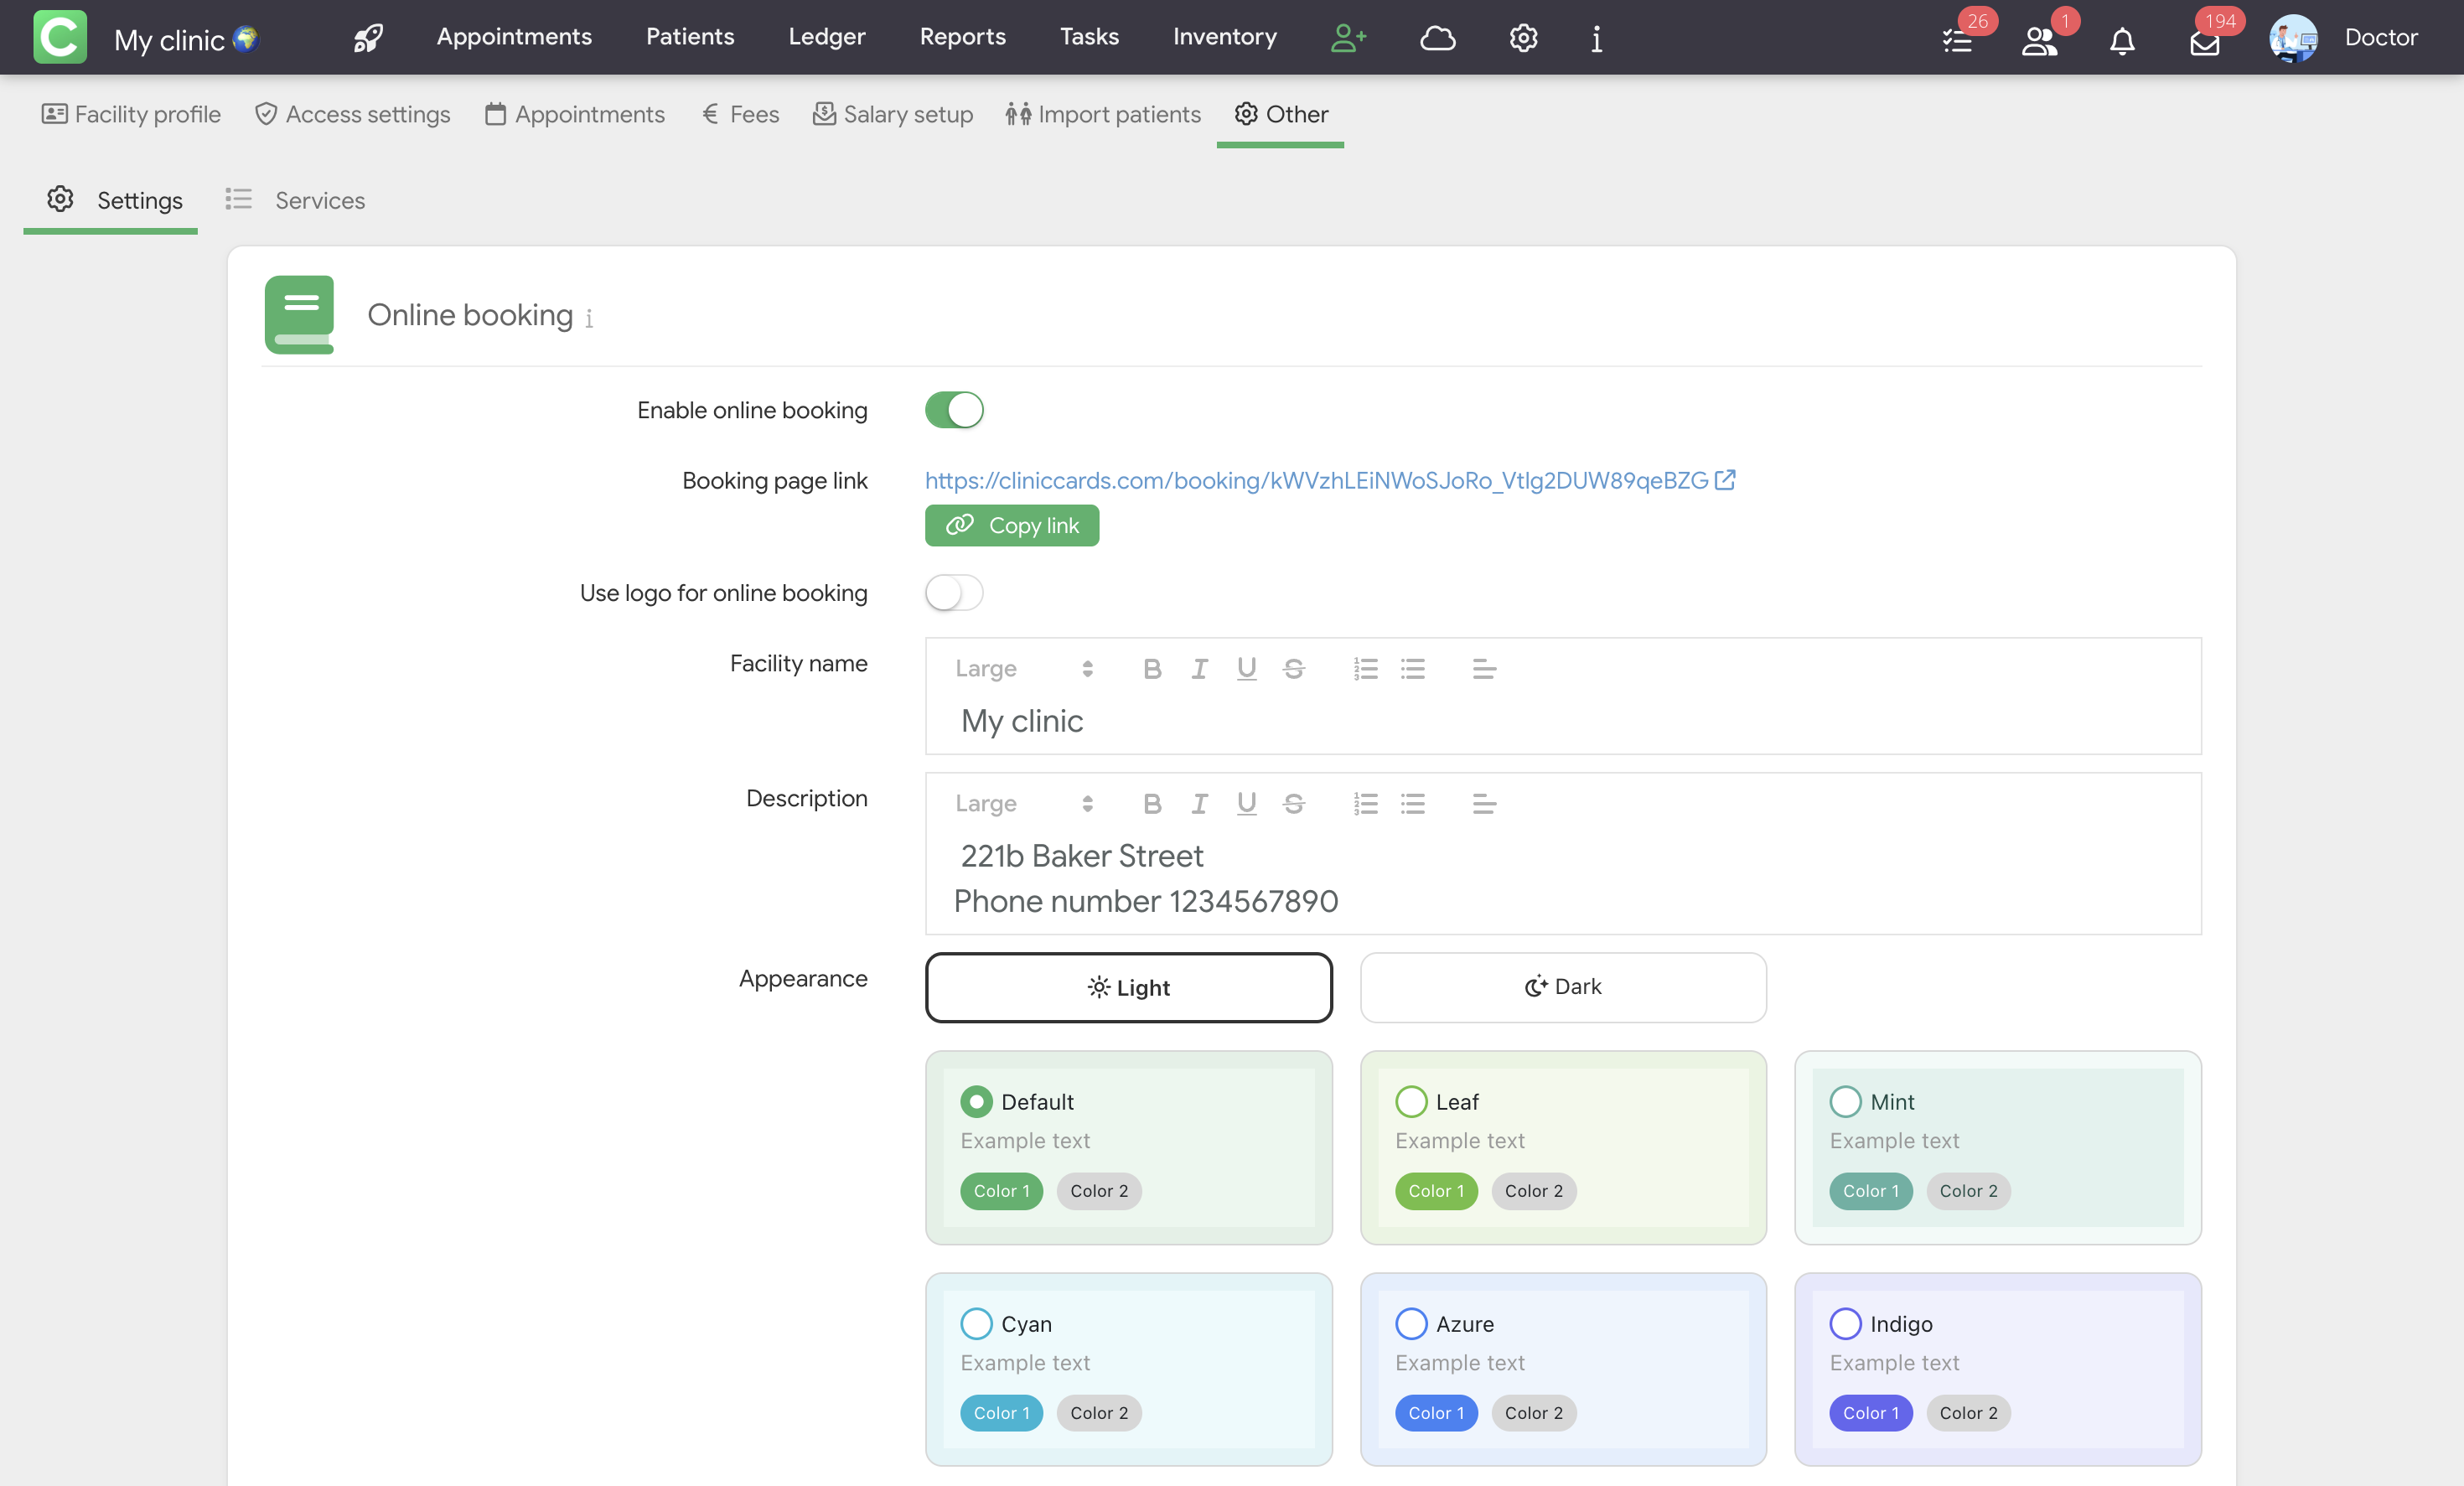
2. Go to Settings → Other → Online Booking and activate the Enable online booking toggle. A special field with the booking page link will appear below.
3. If needed, edit the Clinic Name and Description. By default, these fields use information from the Clinic Profile, but you can customize them specifically for the online booking page.
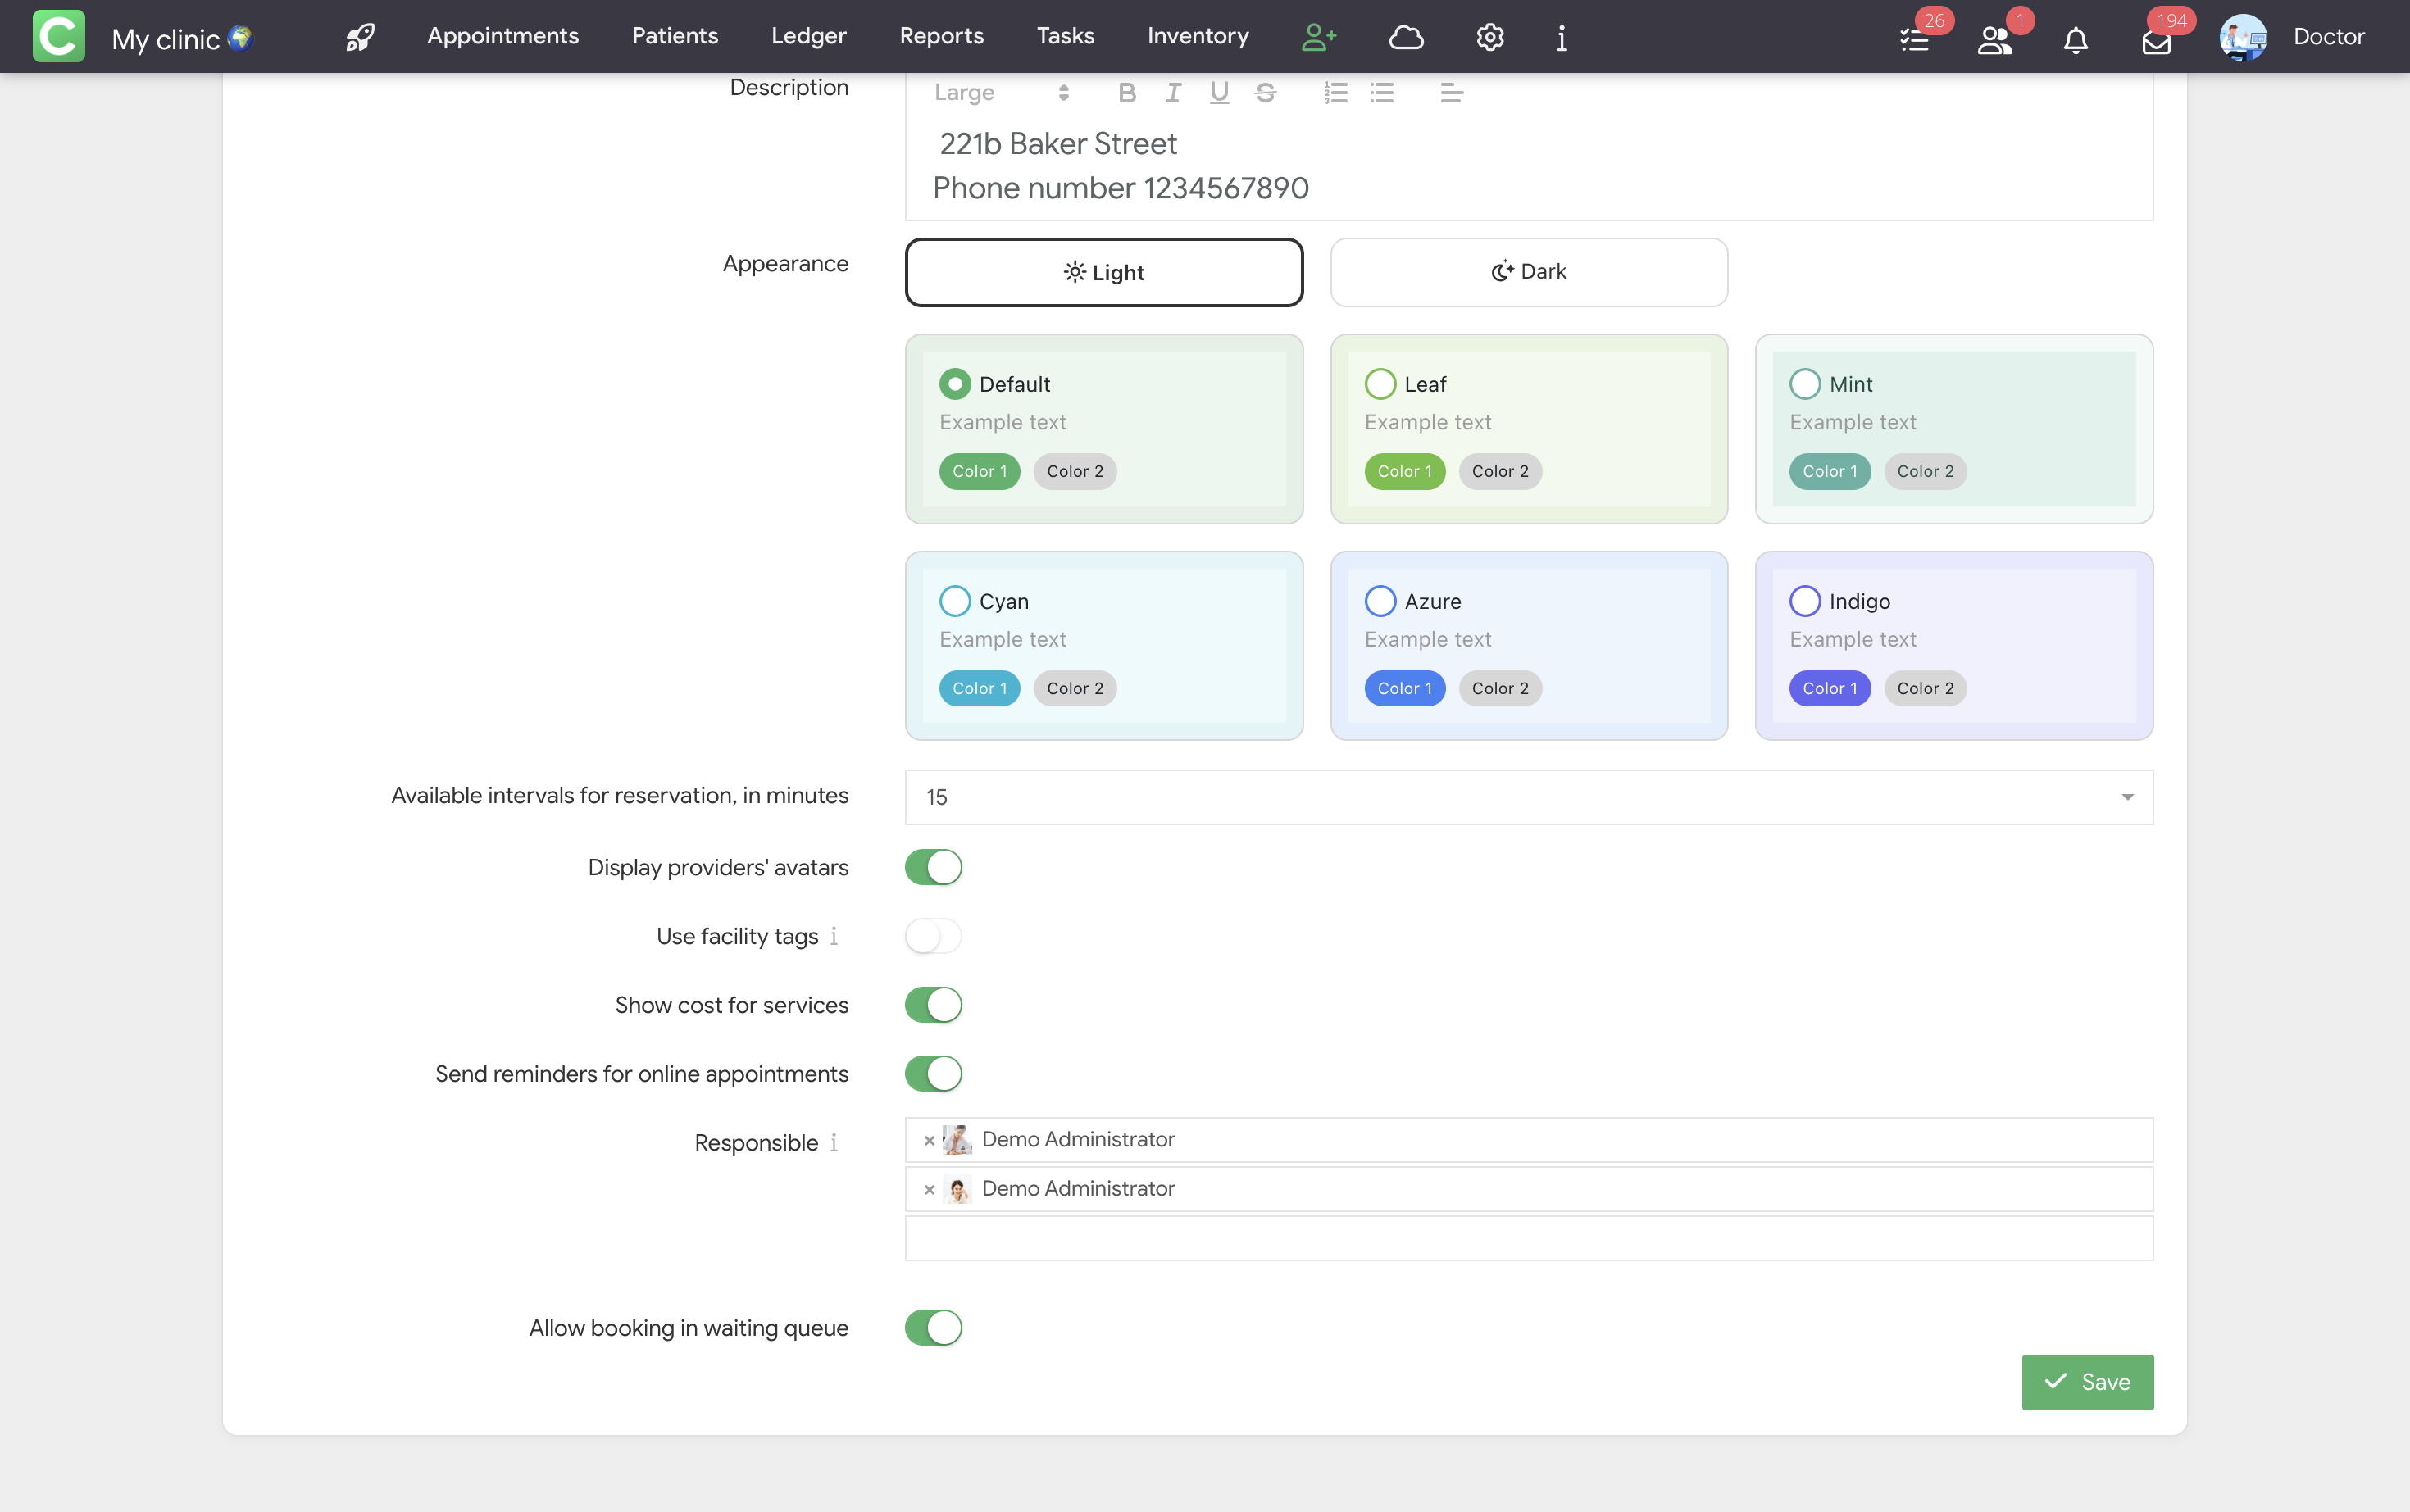
4. Configure the Available intervals for reservation, in minutes. For example, if the interval is set to 20, each available appointment time will be spaced 20 minutes apart. Patients will be able to book visits at 09:00, 09:20, 09:40, and so on. If the value is set to 30, the available booking times will be 09:00, 09:30, 10:00, and so on.
5. If needed, customize the appearance of the online booking page in the Appearance field. In this field, you can replace the default green color of the online booking page with another option. Light and dark themes are available, each with several color palettes.
6. If needed, activate the Display providers' avatars toggle. If avatars have been added to employee accounts, they will automatically appear on the online booking page. This helps patients visually identify the right specialist, especially if they have already visited that provider before.
7. If your clinic has multiple locations, activate the Use facility tags toggle if needed. After this, the final booking screen will show the address of the branch where the appointment will take place. This helps reduce additional calls and messages asking to confirm the location.
For more information about clinic labels, see the Clinic tags section in the Manual.
8. If needed, activate the Allow booking in waiting queue toggle. This allows patients to submit a waitlist request if there are no available time slots in the schedule. When a time slot becomes available, the administrator or another responsible specialist can contact the patient and offer the available time.
This option is especially useful for popular specialists or high-demand services.
9. Go to the Services tab. This tab contains a summary table with all clinic members and the current price list. In this table, you can configure which services are available for online booking, how long each service takes for a specific specialist, and what price will be shown to the patient.
To do this, first select the required specialist in the vertical column, then select the corresponding procedure horizontally. Next, specify the actual number of hours and/or minutes required for the procedure. Repeat these steps for all procedures and specialists available for online patient booking.
For specialists in the same field, you can apply the same online booking service settings. To do this, click Copy booking services, located to the left of the specialist icon. In the new window, select the clinic member who should receive the same settings, then click Copy.
If needed, you can also enter specialist aliases in the Specialist alias row, such as full name or specialty. These aliases will be displayed on the online booking page.

10. Return to the Online Booking Settings tab and copy the Booking page link. This link can be added to the clinic website or other online resources where patients can book appointment times. You can also send this link through a messenger or by email.
After opening the online booking link, the patient can select a specialist, service, and convenient appointment time. Filters on the online booking page can be used in any order. The patient does not have to select the provider, procedure, and time in one fixed sequence.
Different selection scenarios are possible:
The system automatically adjusts the available options based on the patient’s selections.
For example, if a specific service is available only from one specialist, once the patient selects that service, the system will automatically narrow the list of available specialists to the relevant provider.
The patient can also select multiple services within one online booking. For example: consultation + hygiene, or treatment + X-ray. In this case, the system automatically calculates the total duration and total cost of the visit. The patient immediately sees how long the visit will take and what amount to expect.
After selecting the specialist, service, and time, the patient must fill in the required fields to complete the booking:

During online booking, patients are identified by phone number. After the booking is completed, an appointment is automatically created in the Appointments section:
The appointment is created with the selected specialist at the time chosen by the patient. This appointment contains the note Patient from online booking or New patient from online booking and has the status Booked.
The appointment window also displays the services selected by the patient during online booking. If the patient selected multiple services, all of them will be added to one appointment. There is no need to create a separate appointment for each service.
Also, on the Online Booking page, you can set up automatic reminders that notify the administrator or another responsible specialist to call the patient back and confirm the appointment.
To do this, activate the Create online booking reminders toggle and select the responsible specialist who will receive these reminders.
Important: the language of the online booking page and online booking comments in appointments is determined in Settings → Other → Clinic Settings → System message language.
If needed, the administrator or another responsible clinic specialist can call the patient to confirm the appointment and change its status.
