The Patients module tracks orders and financial transactions for each patient.
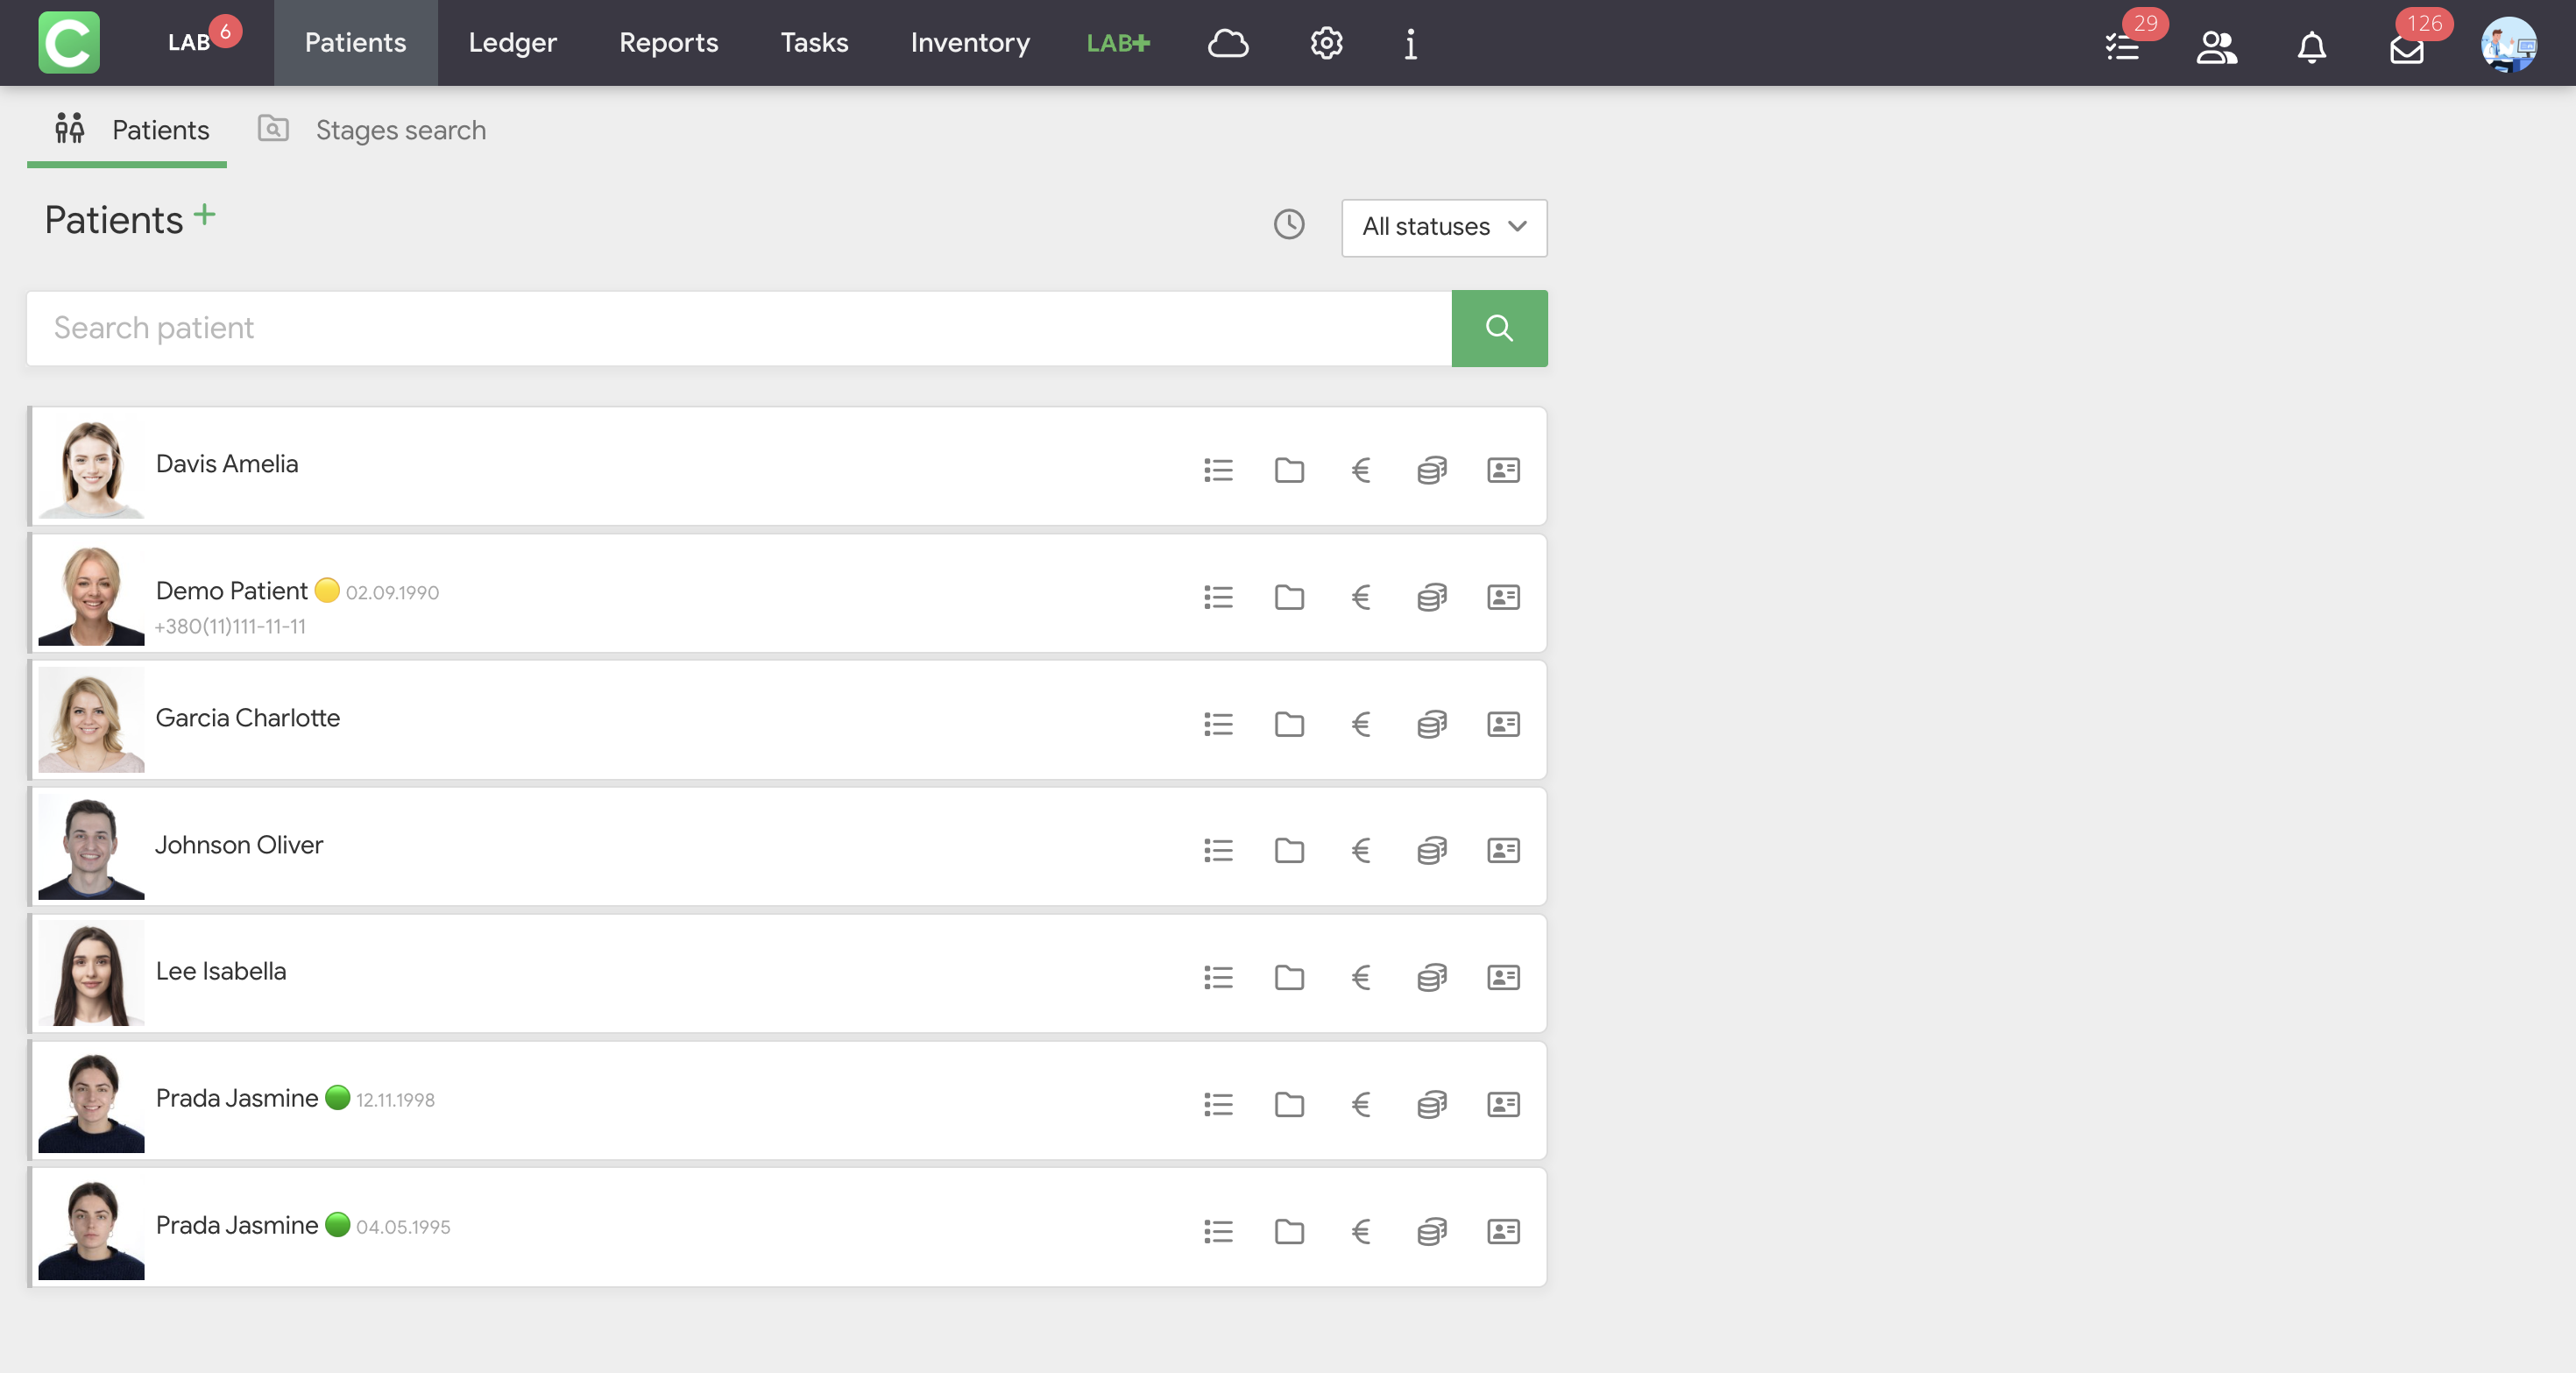
A patient profile in the lab can be created in three ways:
Method 1. Automatically when an order is transferred from a facility. When a referring clinic creates an order for a patient, that patient’s card automatically appears in your list.
Method 2. Through the Patients module. On the home page of the Patients module, there is  button next to the header. Click it to open the window for creating a new patient card. Fill in all the required information and save.
Method 3. While creating an appointment. If you need to create an appointment for a patient who isn’t yet in the system, click the button  next to the Patient field while creating the appointment. This button opens the window for creating a new patient card, where you’ll need to enter the patient’s contact information. As soon as you click the Save button, a new patient profile will be created in Cliniccards, regardless of whether the order is saved or not.
The patient profile in the lab has six tabs:
The Tasks tab in the patient card displays all tasks associated with this patient – that is, tasks related to their orders. The logic fully mirrors the clinical workflow: tasks with due dates, priorities, assignees, attached files, and statuses. You can learn more about this in the Manual section Tasks.
The Patient forms tab contains documents that can be created for the patient. Here, you can add your documents using the New document button in the upper-right corner. You can learn more about this section in the Manual section Patient forms.
When a facility creates an order, a Treatment plan is automatically generated in the patient’s lab profile based on that order. The plan displays:
If necessary, you can manually create additional treatment plans – for example, for an alternative treatment option. All plans are accessible via the All plans button in the upper-right corner. An approved plan is marked with an asterisk.
The Orders tab is a chronological log of work with the patient. All orders from the clinic are automatically added to this log. This means that when a facility creates an order, it automatically shares the relevant part of the treatment history with the lab – without any additional access settings.
Within each entry in Orders, you’ll see:
You can learn more about this section in the Manual section under Treatment history.
The Customer settlement tab is the financial section for settlements with the clinic. It contains all financial transactions between the client facility and a specific patient.
The page includes:
At the bottom of the page, the total amounts are displayed: Procedures performed for a total of, Paid, Debt.
The logic for working with invoices and payments is standard for Cliniccards. You can learn more about it in the Manual section under Ledger.
Internal finance
The Internal finance tab shows the salary accruals for technicians for procedures performed for this patient.
Workflow:
The workflow for invoices and payments is standard for Cliniccards. You can learn more about it in the Manual section under Ledger.