Laboratory settings
The Settings section in the laboratory contains the standard Cliniccards sections: facility profile, access settings, fees, tags, security, inventory, and more. Detailed instructions for working with these sections are provided in the Manual section under Creation and setting of the facility, so we recommend reviewing it first.
Differences in laboratory settings appear in the following tabs:
- Fees;
- Internal fees;
- Salary setup;
- Laboratory order statuses.
Fees
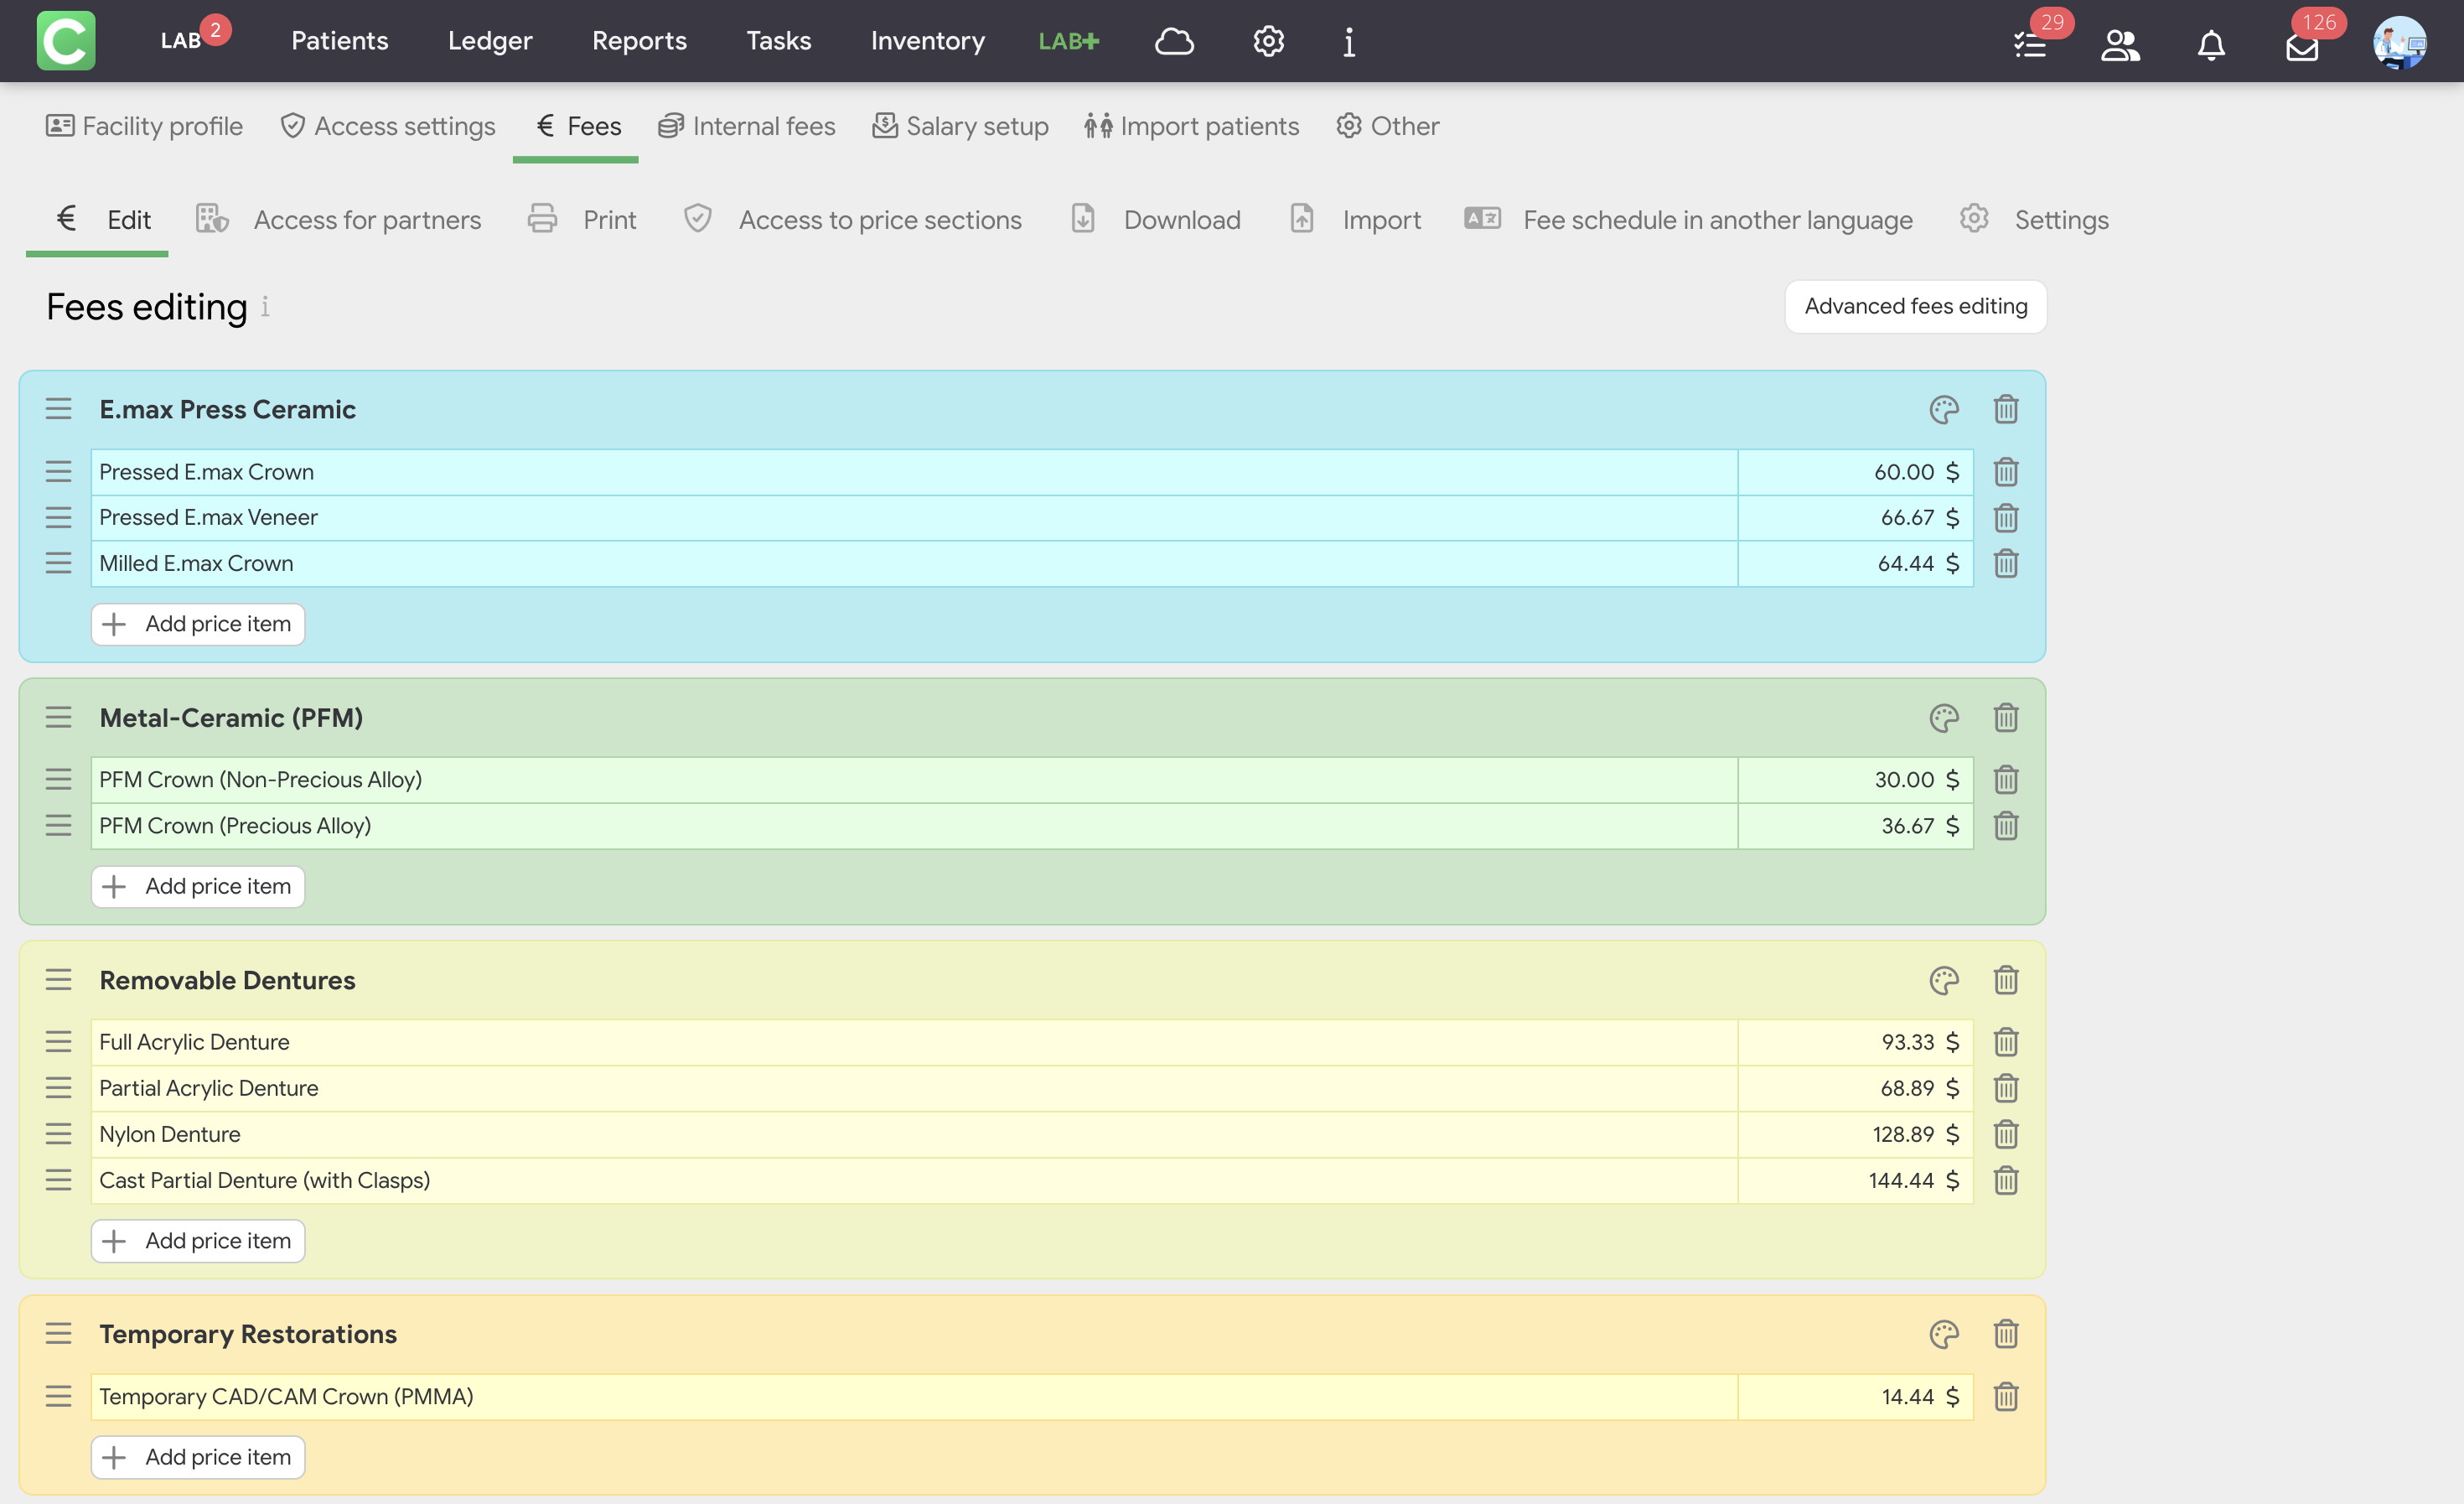
This is the laboratory’s main fees list. It is the one that populates the order form when the facility creates a new order. Here you add items that the laboratory produces in their entirety: crowns, aligners, retainers, braces, etc.
The following are added to the Fees list:
- work categories (for example: E.max Press Ceramics, Zirconia, Metal-Ceramic, Removable Prosthetics);
- specific items in each category with their own item numbers;
- price per unit;
- alternative currency (if necessary)
The process for adding items follows the same general logic as entering a fees list in Cliniccards. To learn more about this process, see the Manual section Entering fees.
Different fees lists for different facilities
The laboratory can flexibly control what each client clinic sees in your price list. This is done through fees list categories and access settings.
How it works:
- In the Fees list, you create several categories for different price segments or service segments. For example: Standard Zirconia, Premium Zirconia, Premium Metal-Ceramic, Removable Prosthetics, Temporary Restorations.
- Then, go to the Access for partners section of the fees list. There you’ll find a summary table listing all added clients and fees list categories.
- Now you can activate the categories that this clinic will see when creating orders.
What are the practical benefits of different fee lists:
- One partner facility has full access to all categories and sees the entire fees list.
- You grant another clinic access only to the basic categories. Now it does not see the “premium” fees.
- For a third clinic, for example, you create a separate personalized category with special contract fees, accessible only to that facility.
- A test category for piloting a new service – you grant access to one or two partners without showing it to everyone.
This way, you can maintain a single pricing system while managing visibility flexibly and without creating parallel fees lists.
Internal fees
Internal Fees is an optional tab. It is disabled by default. It should be enabled for labs where a single product is manufactured by several technicians, and each needs to be paid for the part portion of the work they performed.
How to enable Internal fees:
- Go to the Settings → Other → Facility settings section.
- Select the Use internal fees option.
- Save your changes.
After activation, a separate tab labeled Internal fees appears in Settings, where you can add production operations.
Important: the Internal Fees list is not visible externally. It is not shared with clinics. It is used only in the Internal finance section of the patient’s card to calculate technicians’ salaries.
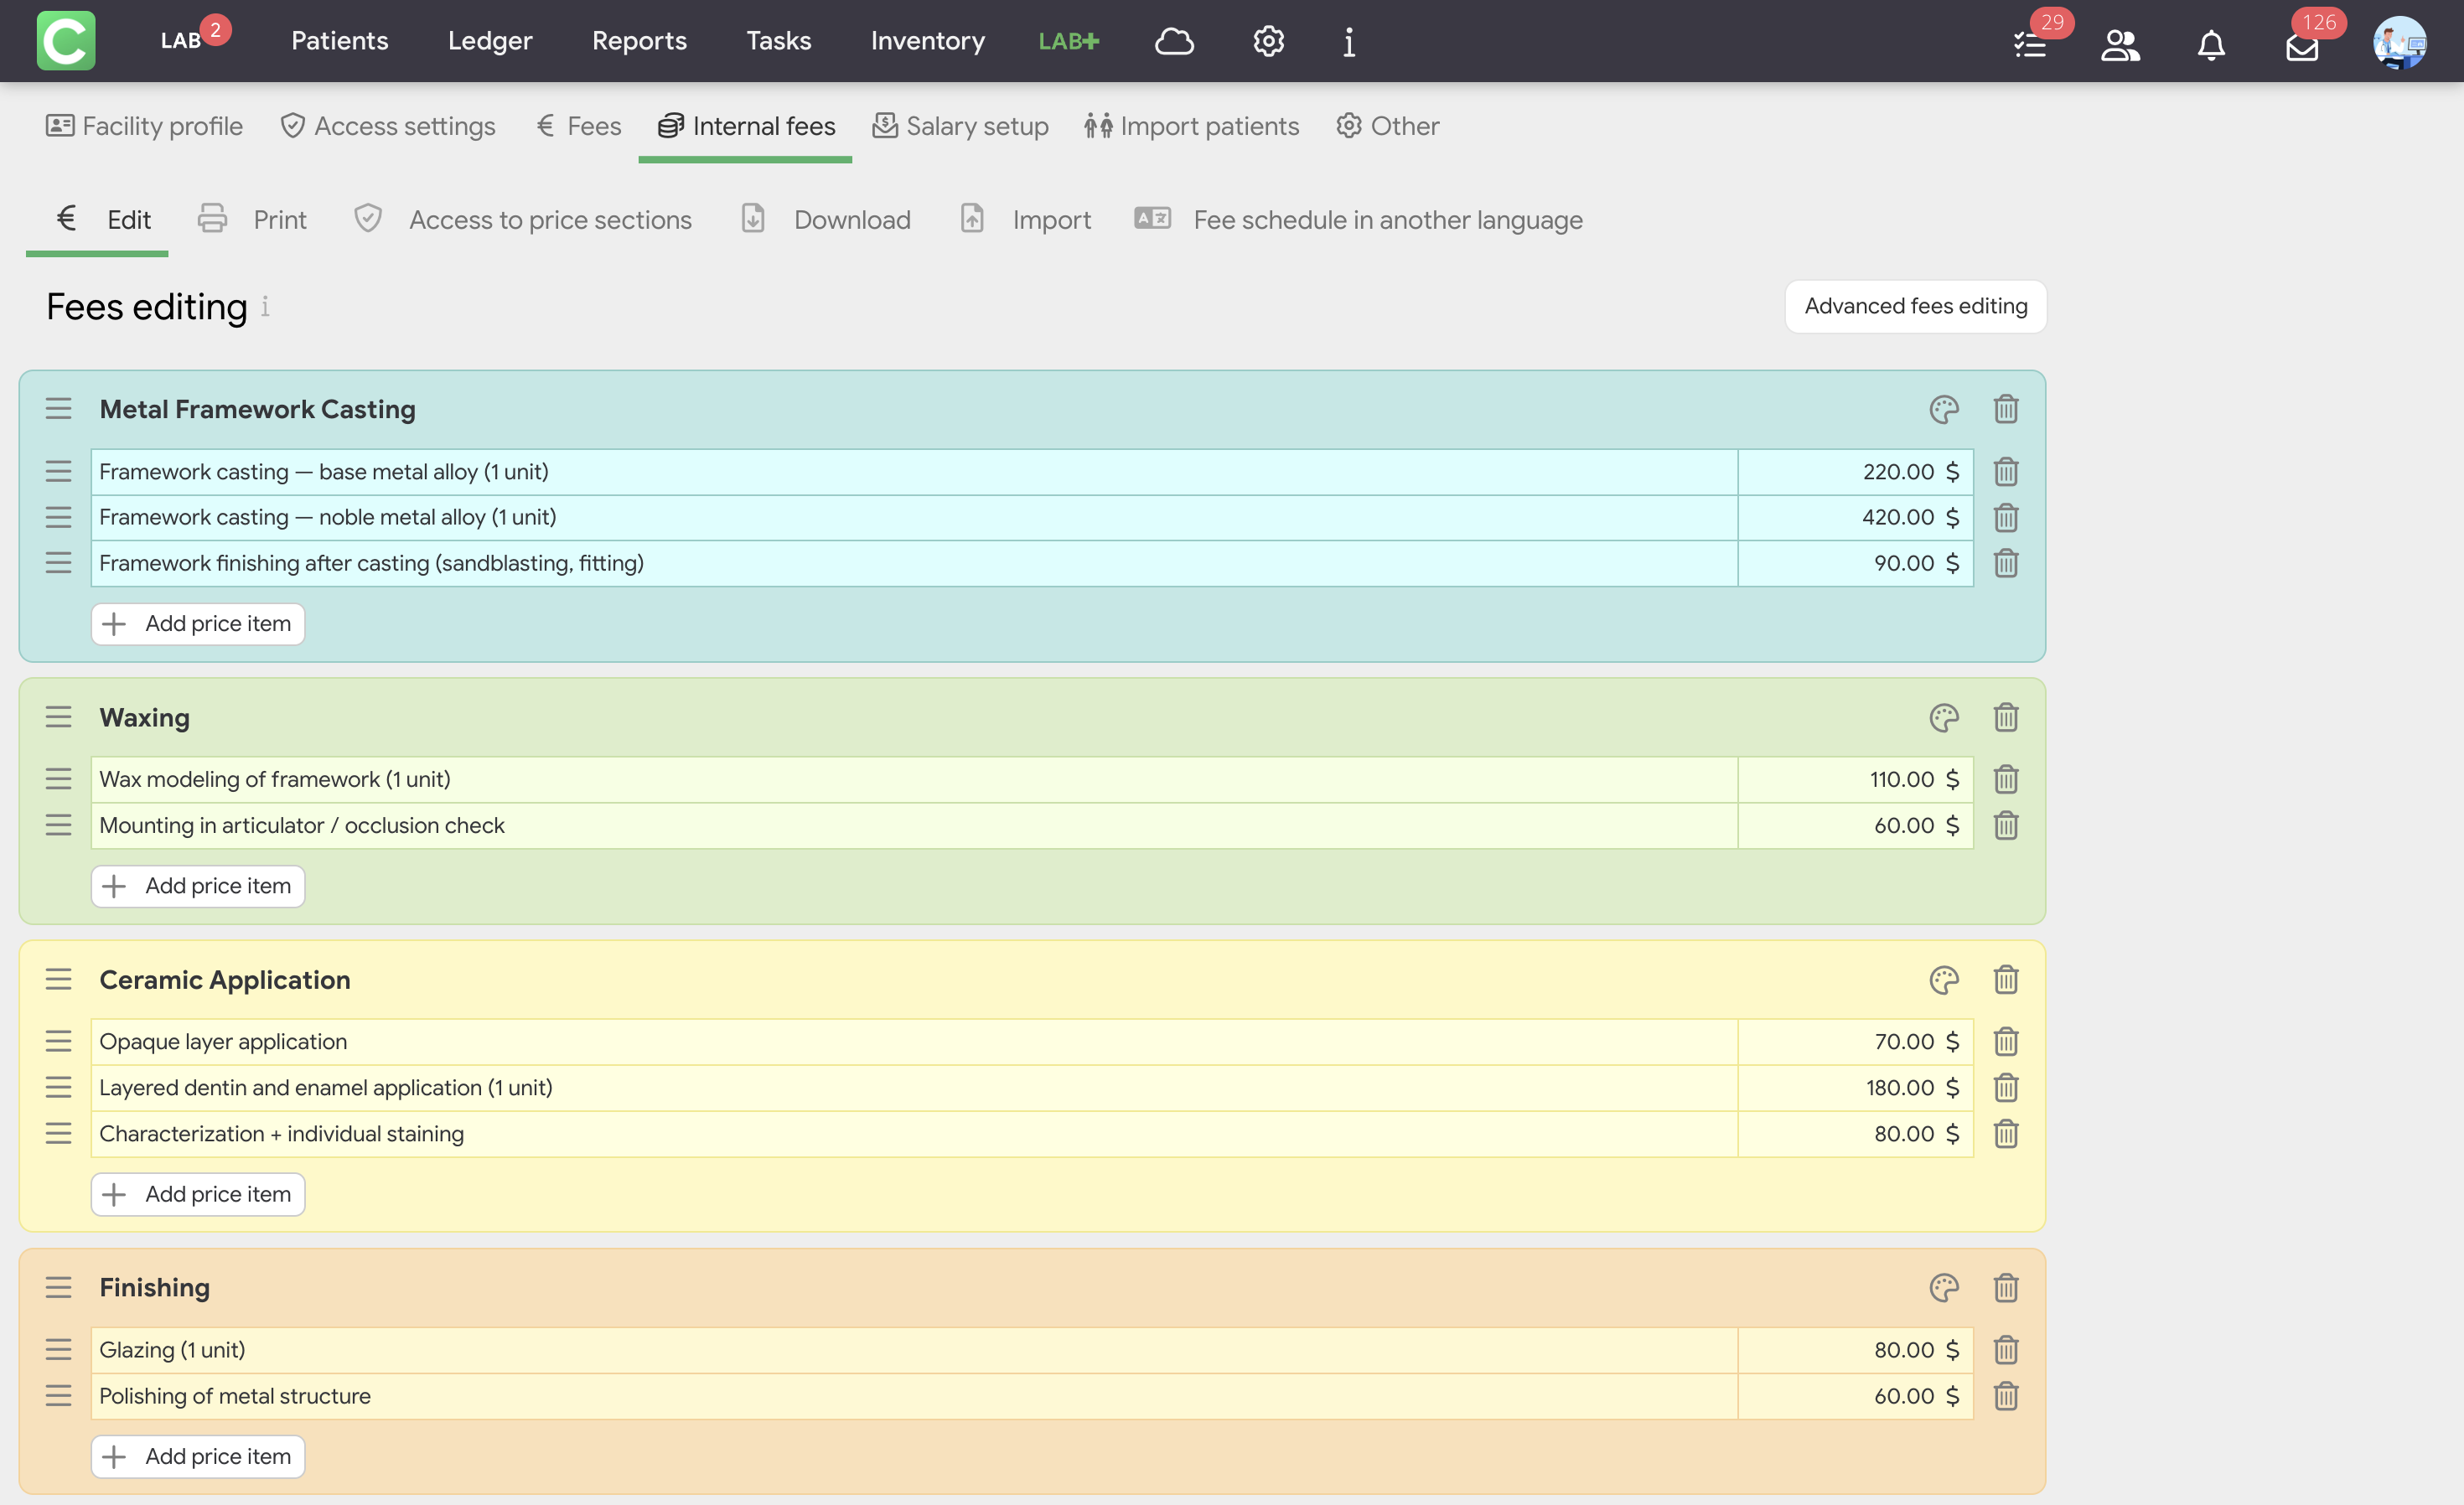
In the internal fees list, you can add:
- Completed products – items that match the names in the main Fees List (for example, “E.max Pressed Crown”). Used when a single technician creates a product from start to finish.
- technological operations – individual steps into which the product manufacturing process is broken down: casting the framework, wax modeling, applying the opaque layer, characterization, and glazing. This is used when several technicians work on a single product and each needs to be paid for their specific part of the work.
You can combine both approaches within a single internal fees list. For some types of work, leave the items as whole entries; for others, break them down into operations.
The logic for adding items also follows the general logic for entering fees lists in Cliniccards. To learn more about this process, see the Manual section Entering fees.
When to activate the Internal fees list:
- the procedure is performed by several technicians – you pay each one for a specific operation;
- you want to separately track labor costs at each stage of production;
- you’re combining approaches: you bill some procedures on a turnkey basis via the Fees list, while breaking others down into operations via the Internal fees list.
When not to use it:
- All products are made by a single technician: in this case, the standard Fees List is sufficient.
Salary setup
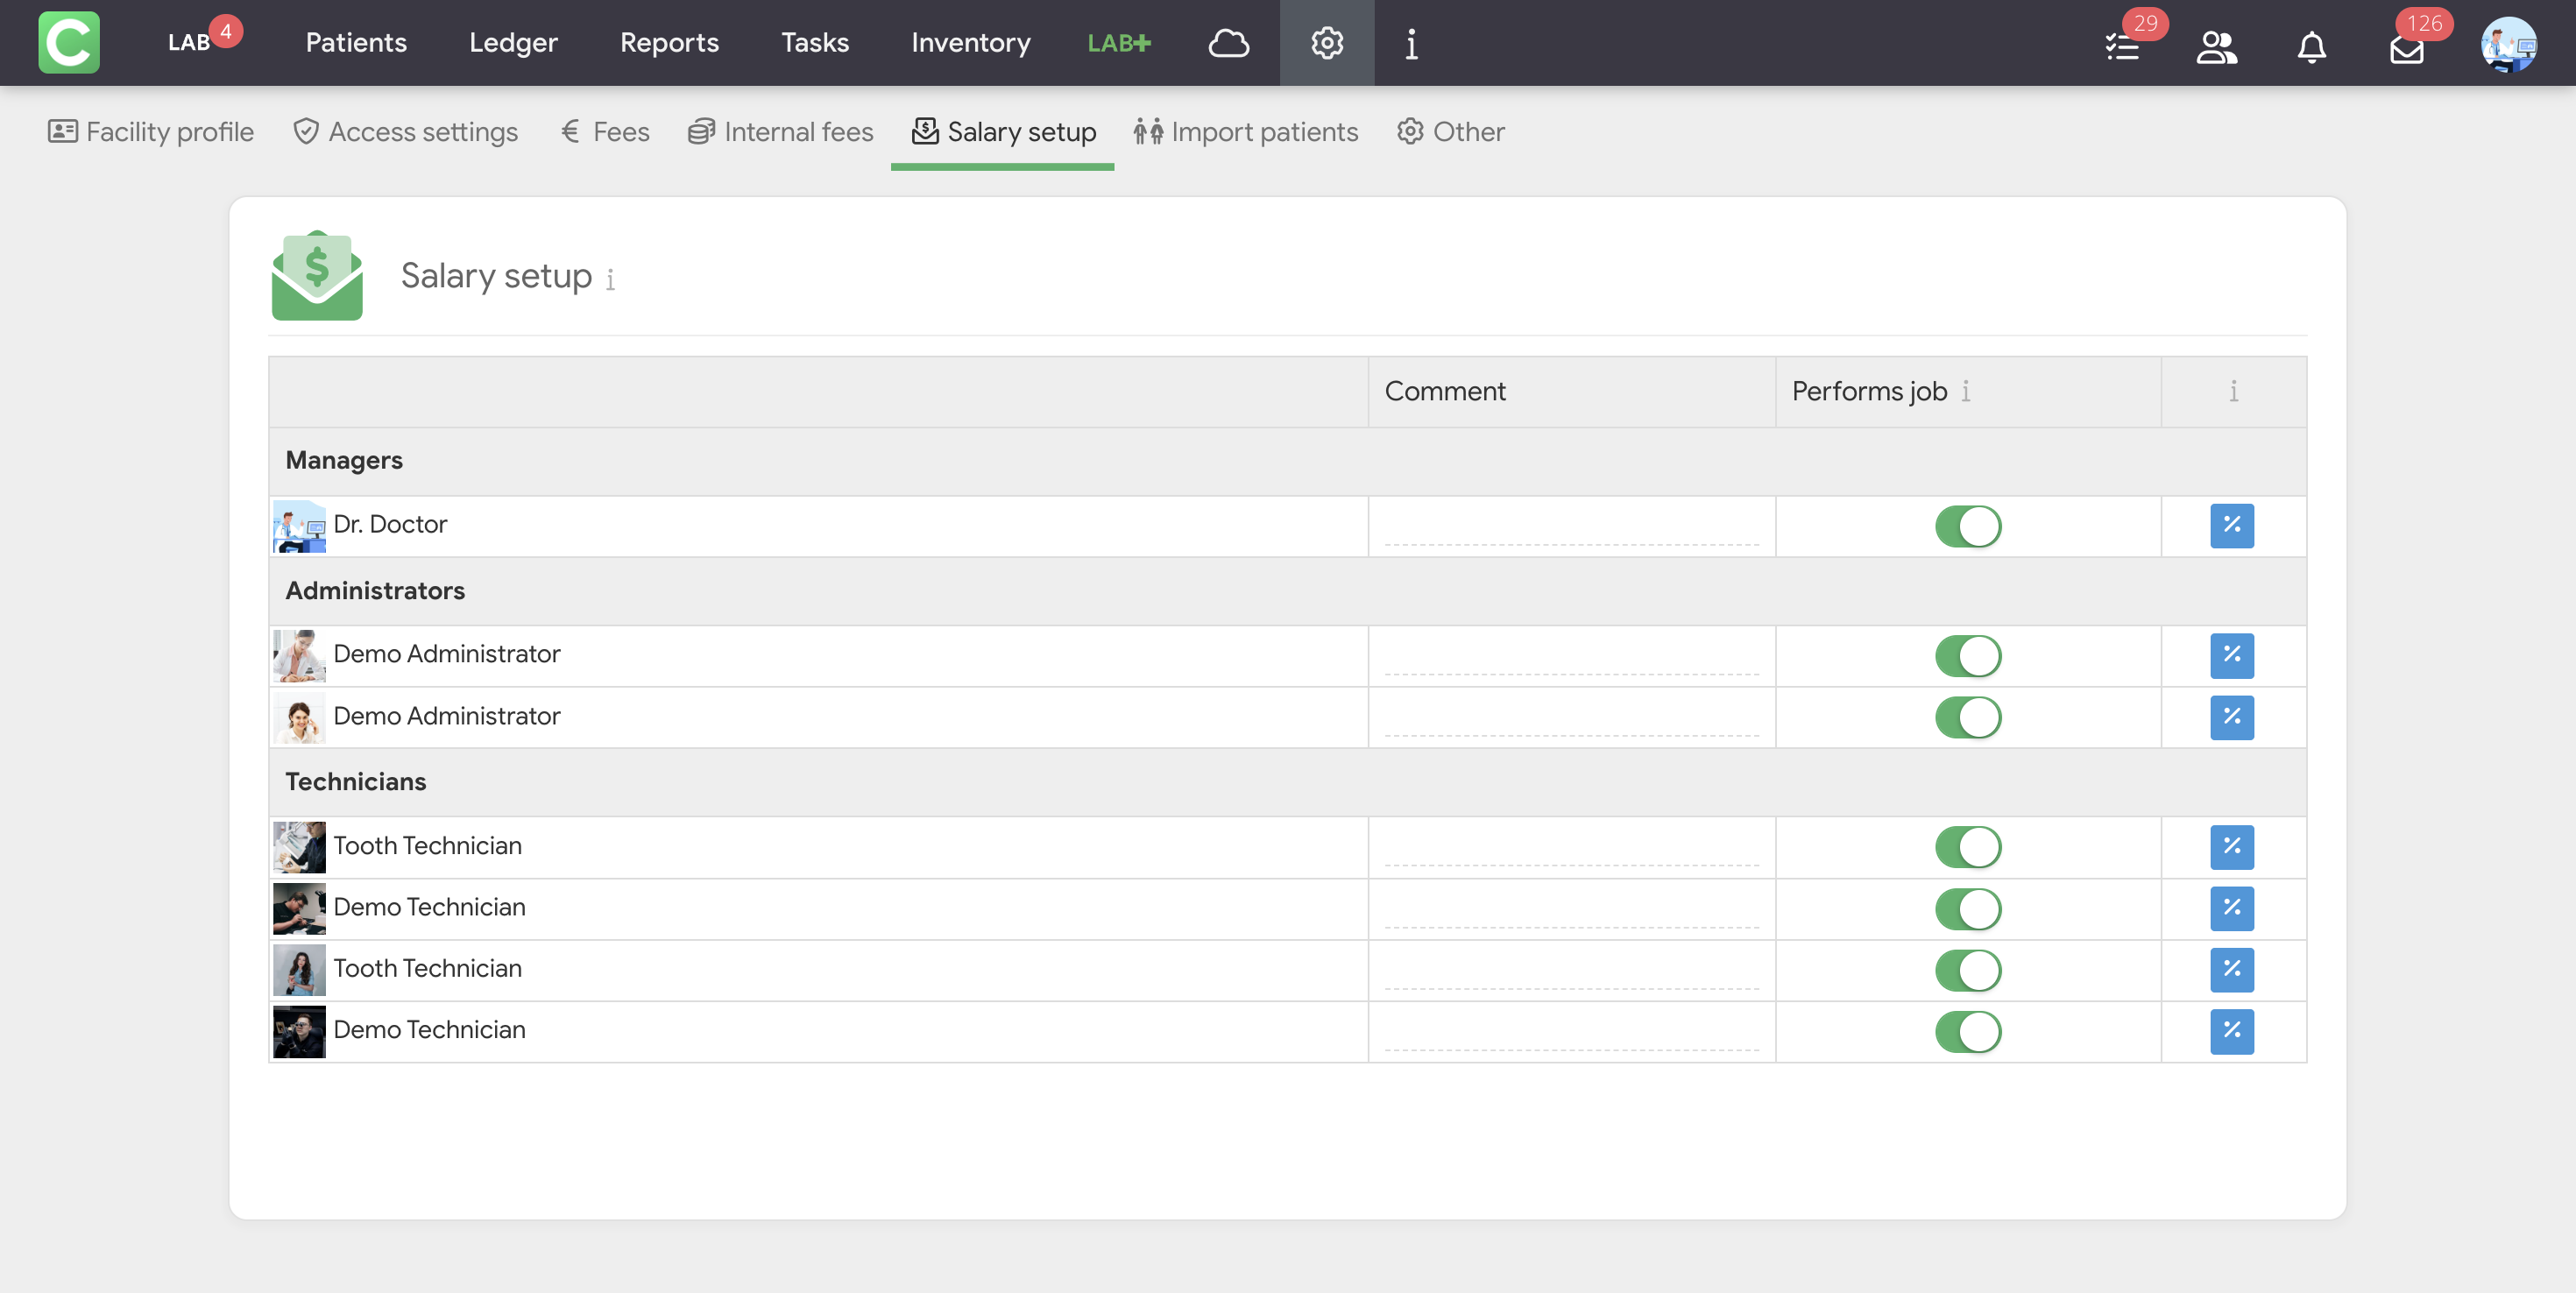
The Salary setup tab contains a summary table of all laboratory specialists. The table includes the following parameters:
- Comment
- The Performs job toggle – enable it if a specialist receives a percentage-based or fixed rate for the work performed.
You can enter salary rates and coefficients in the Settings → Salary setup section.
Please note: in the salary calculation parameters table, employees are grouped by category according to their job responsibilities. You can change a facility employee’s role in the Settings → Access settings → Employee role (under the employee’s name and photo).
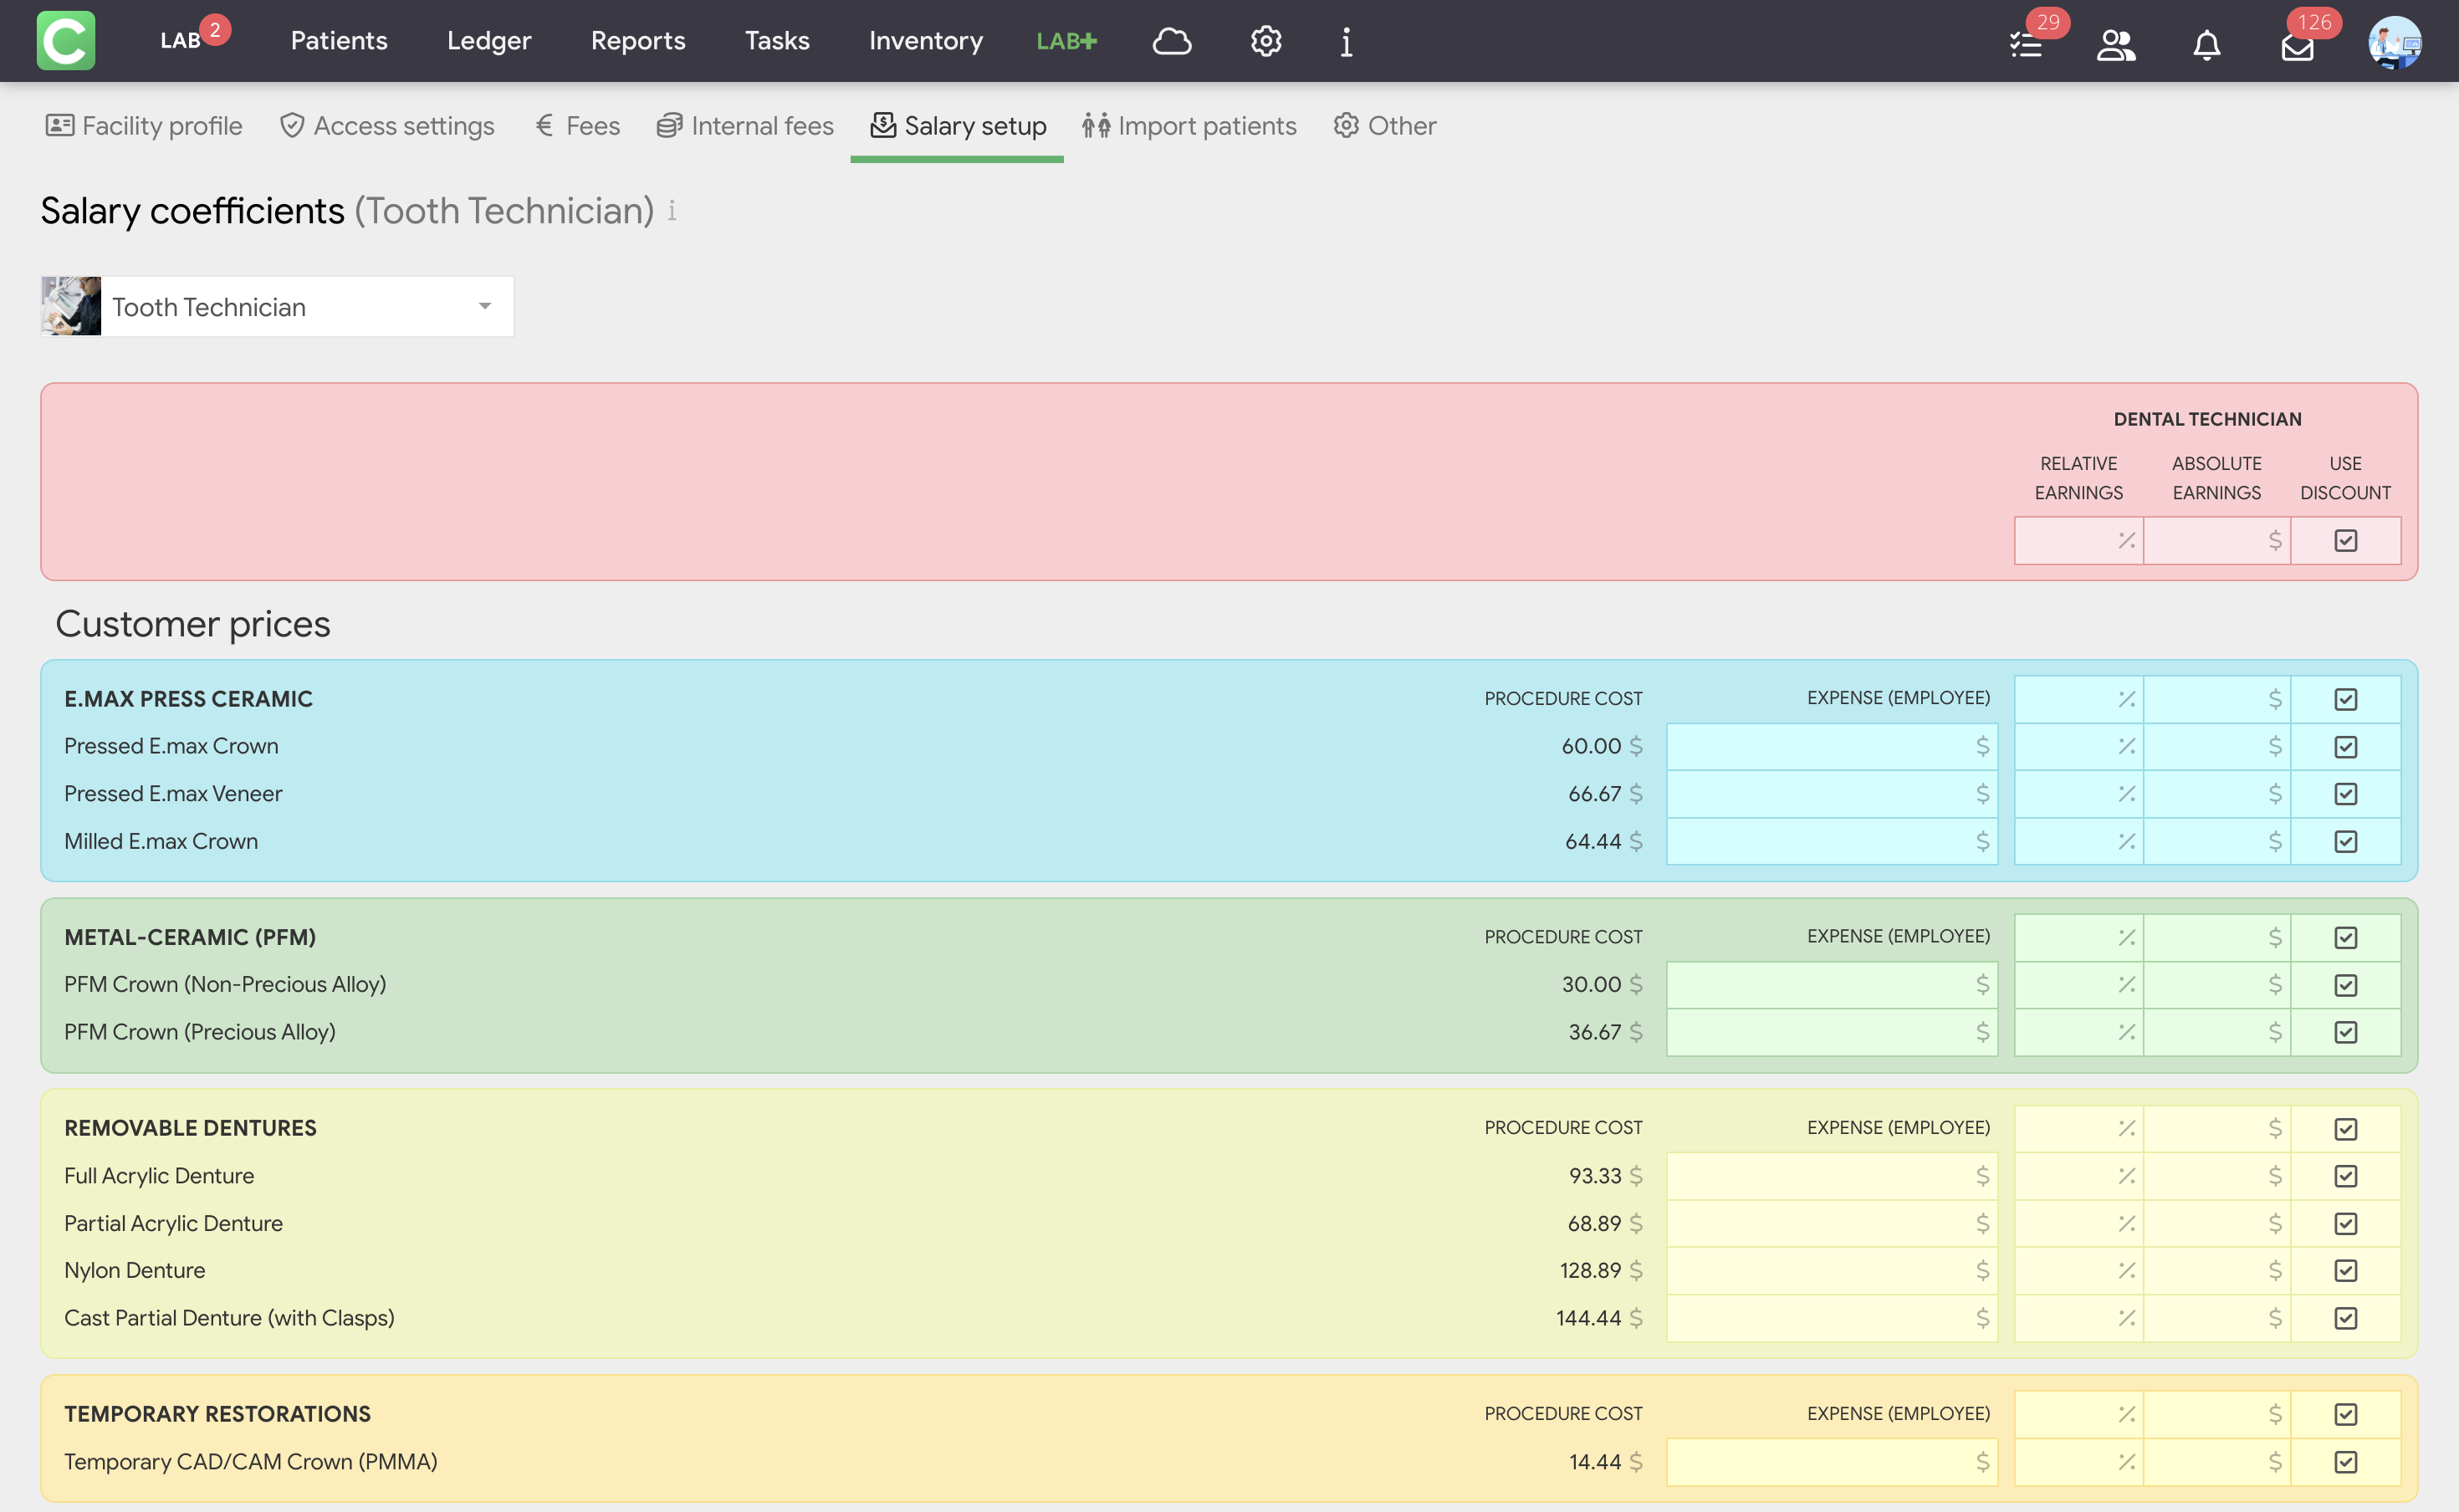
Also, salary coefficients are configured for each laboratory employee here. The page has two sections:
- Fees clients – configuration of salary coefficients for items in the main Fees list. Used when a product is delivered on a turnkey basis and salary is calculated based on the work performed.
- Internal fees – configuring salary coefficients by technological operations. It appears if Internal fees is enabled.
For each item, you can specify:
- relative earnings – a percentage of the cost of the operation;
- absolute earnings – a fixed amount in hryvnia per unit of work;
- use discount – whether to apply a discount granted to the customer when calculating the technician’s wages.
Coefficients are set separately for each employee. At the top of the table, you can set a general coefficient that will automatically apply to all items or edit each item manually.
The principles for handling salary mirror those used in facility settings. Complete instructions are available in the Manual sections Salary and Salary coefficients.
Laboratory order statuses
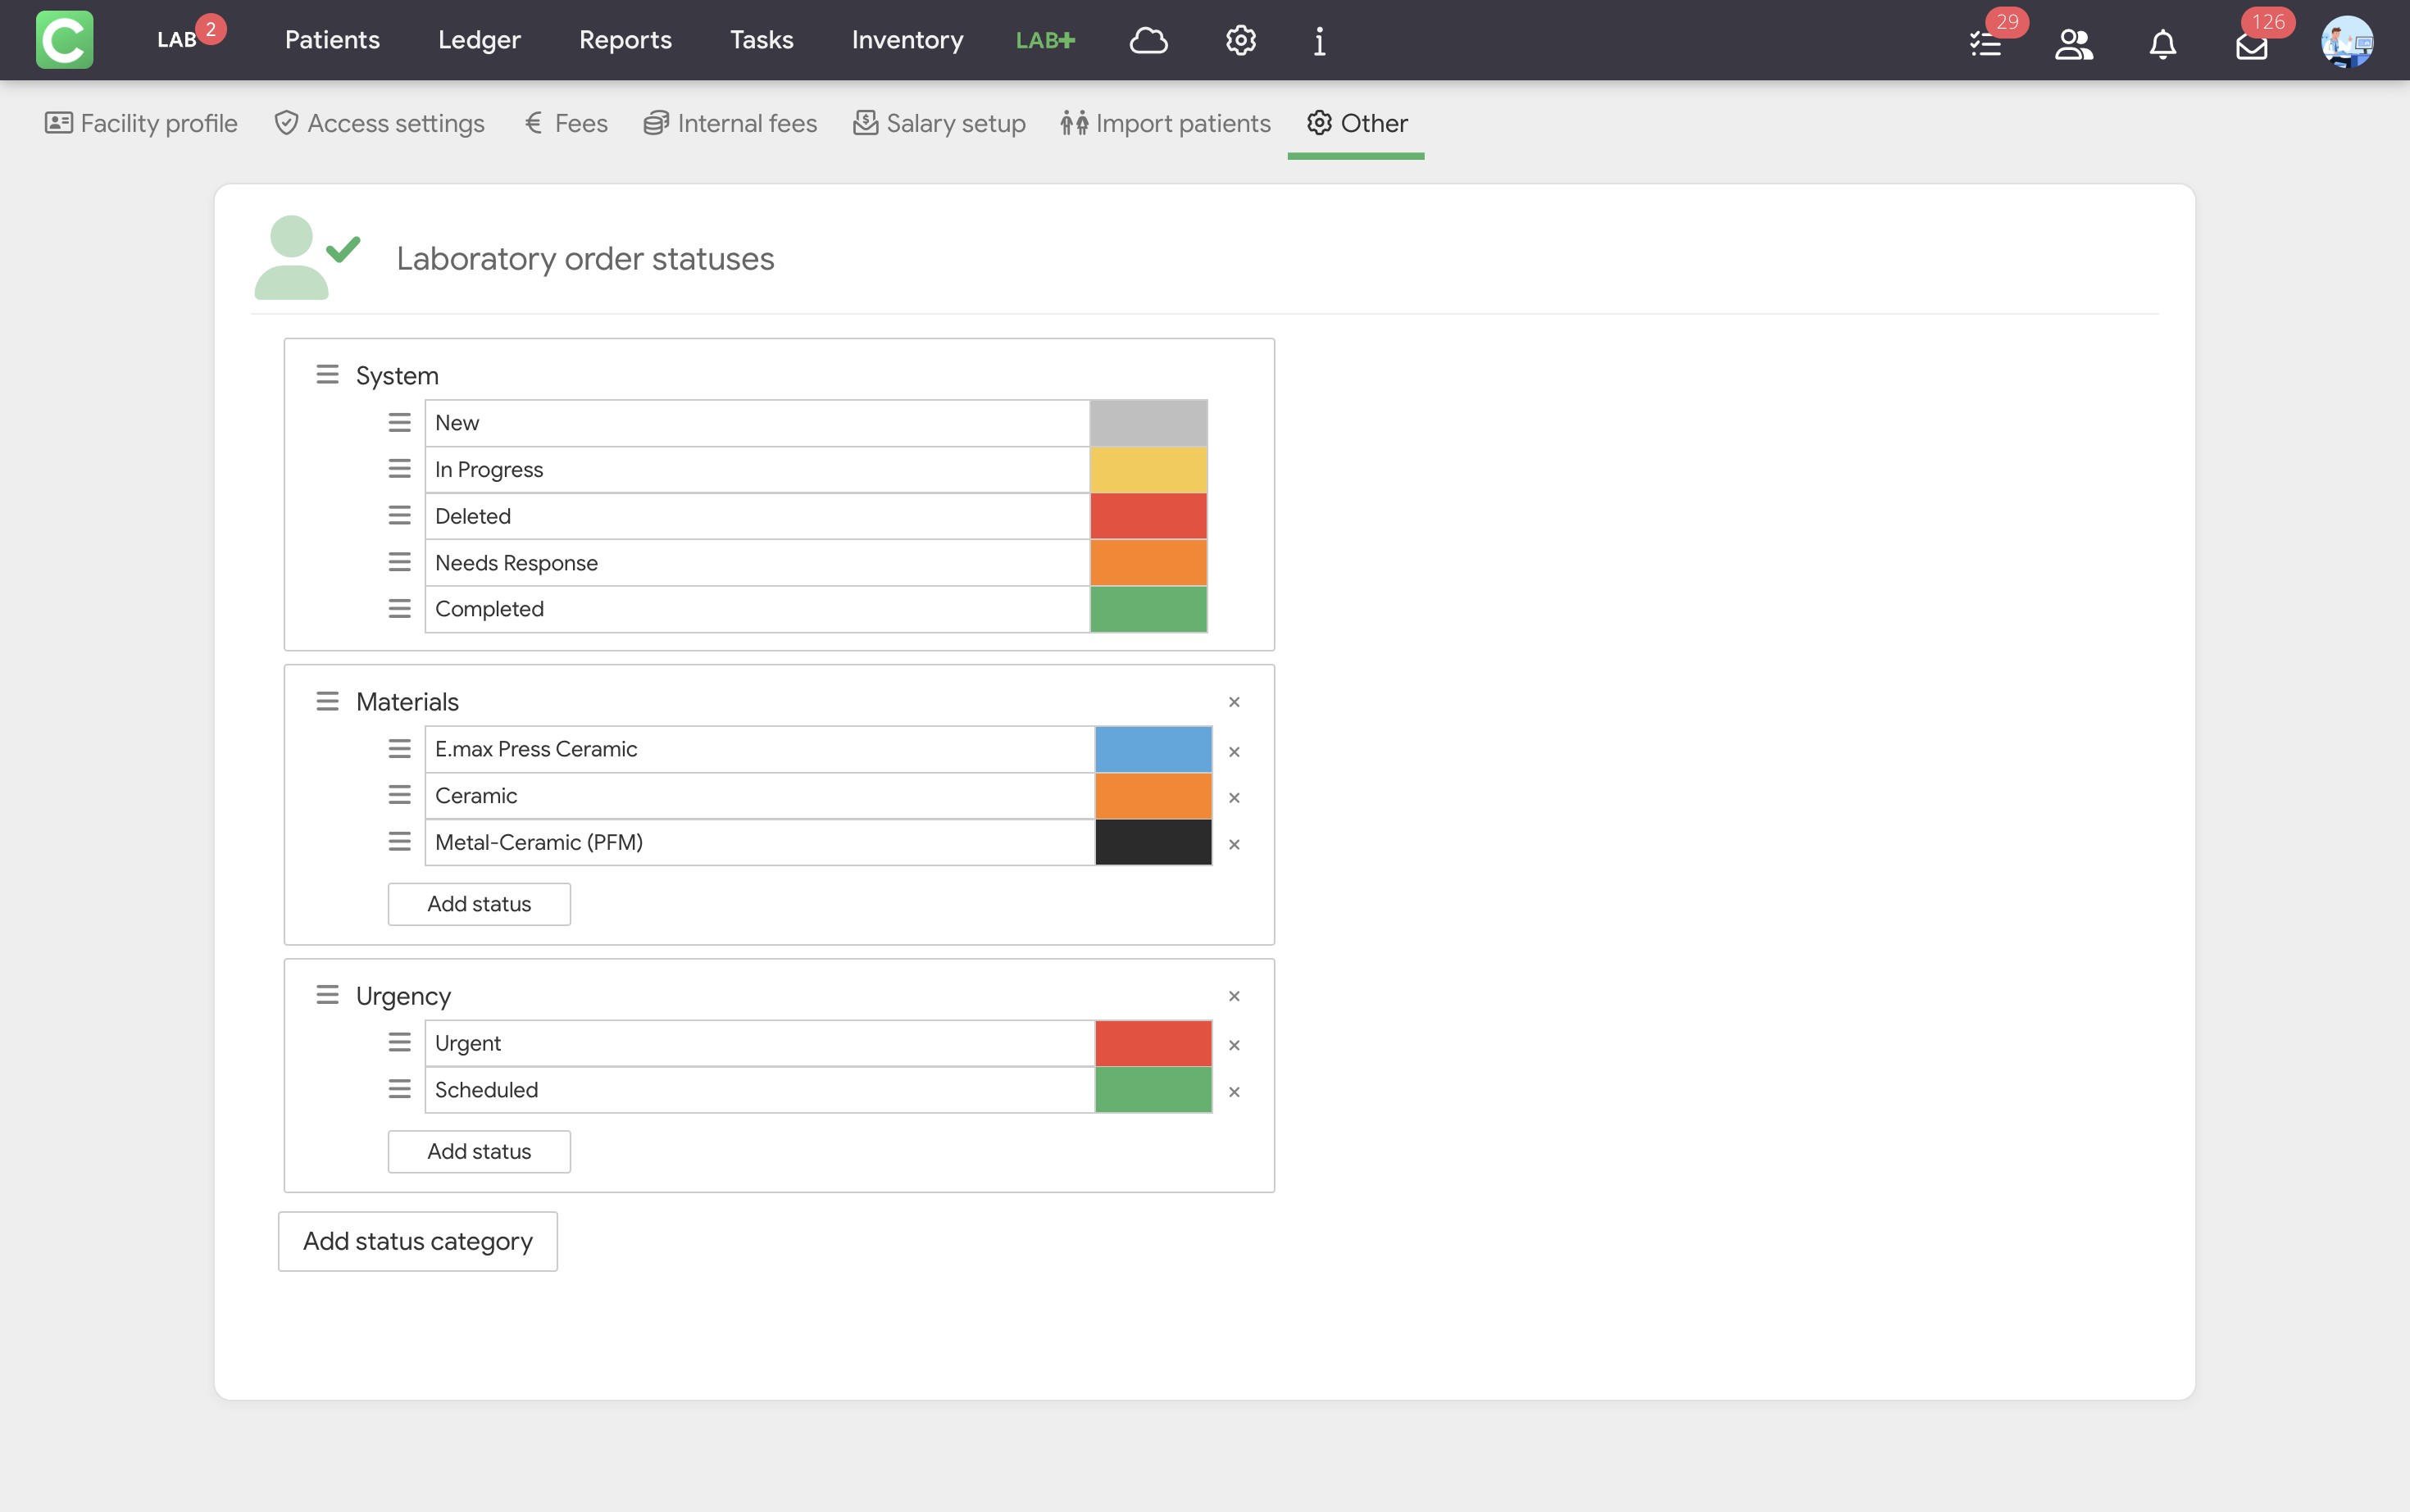
Order statuses are configured in the section Settings → Other → Laboratory order statuses. Statuses are organized into categories.
System statuses are created by default and cannot be deleted or edited. Different colors correspond to different stages of order processing:
- New (gray) – an order that has just been received and has not yet been accepted for processing;
- Accepted (yellow) – an order that the lab has accepted for processing;
- Deleted (red) – a canceled order;
- Requires Response (orange) – an order for which the lab is awaiting additional information;
- Completed (green) – a finished order.
By clicking the Add statuses category, you can create your own category with custom statuses and colors. For example, the Material category with the statuses Zircon / Metal-Ceramic / Pressed Ceramic. Or the Urgency category with the statuses Urgent / Non-Urgent / etc.
You can assign multiple statuses from each category to a single order. For example: Accepted status + “Zircon” status + “Urgent” status. All assigned statuses are visible in the order and in the order list as colored badges.