The Orders (LAB) module is the main section of the laboratory’s operations. It serves as the starting page for any laboratory owner or user.
The module contains seven sections:
A separate section displaying only new orders that have not yet been processed – specifically, orders with the system status New. This is the laboratory’s main control point to ensure that no new order is lost.
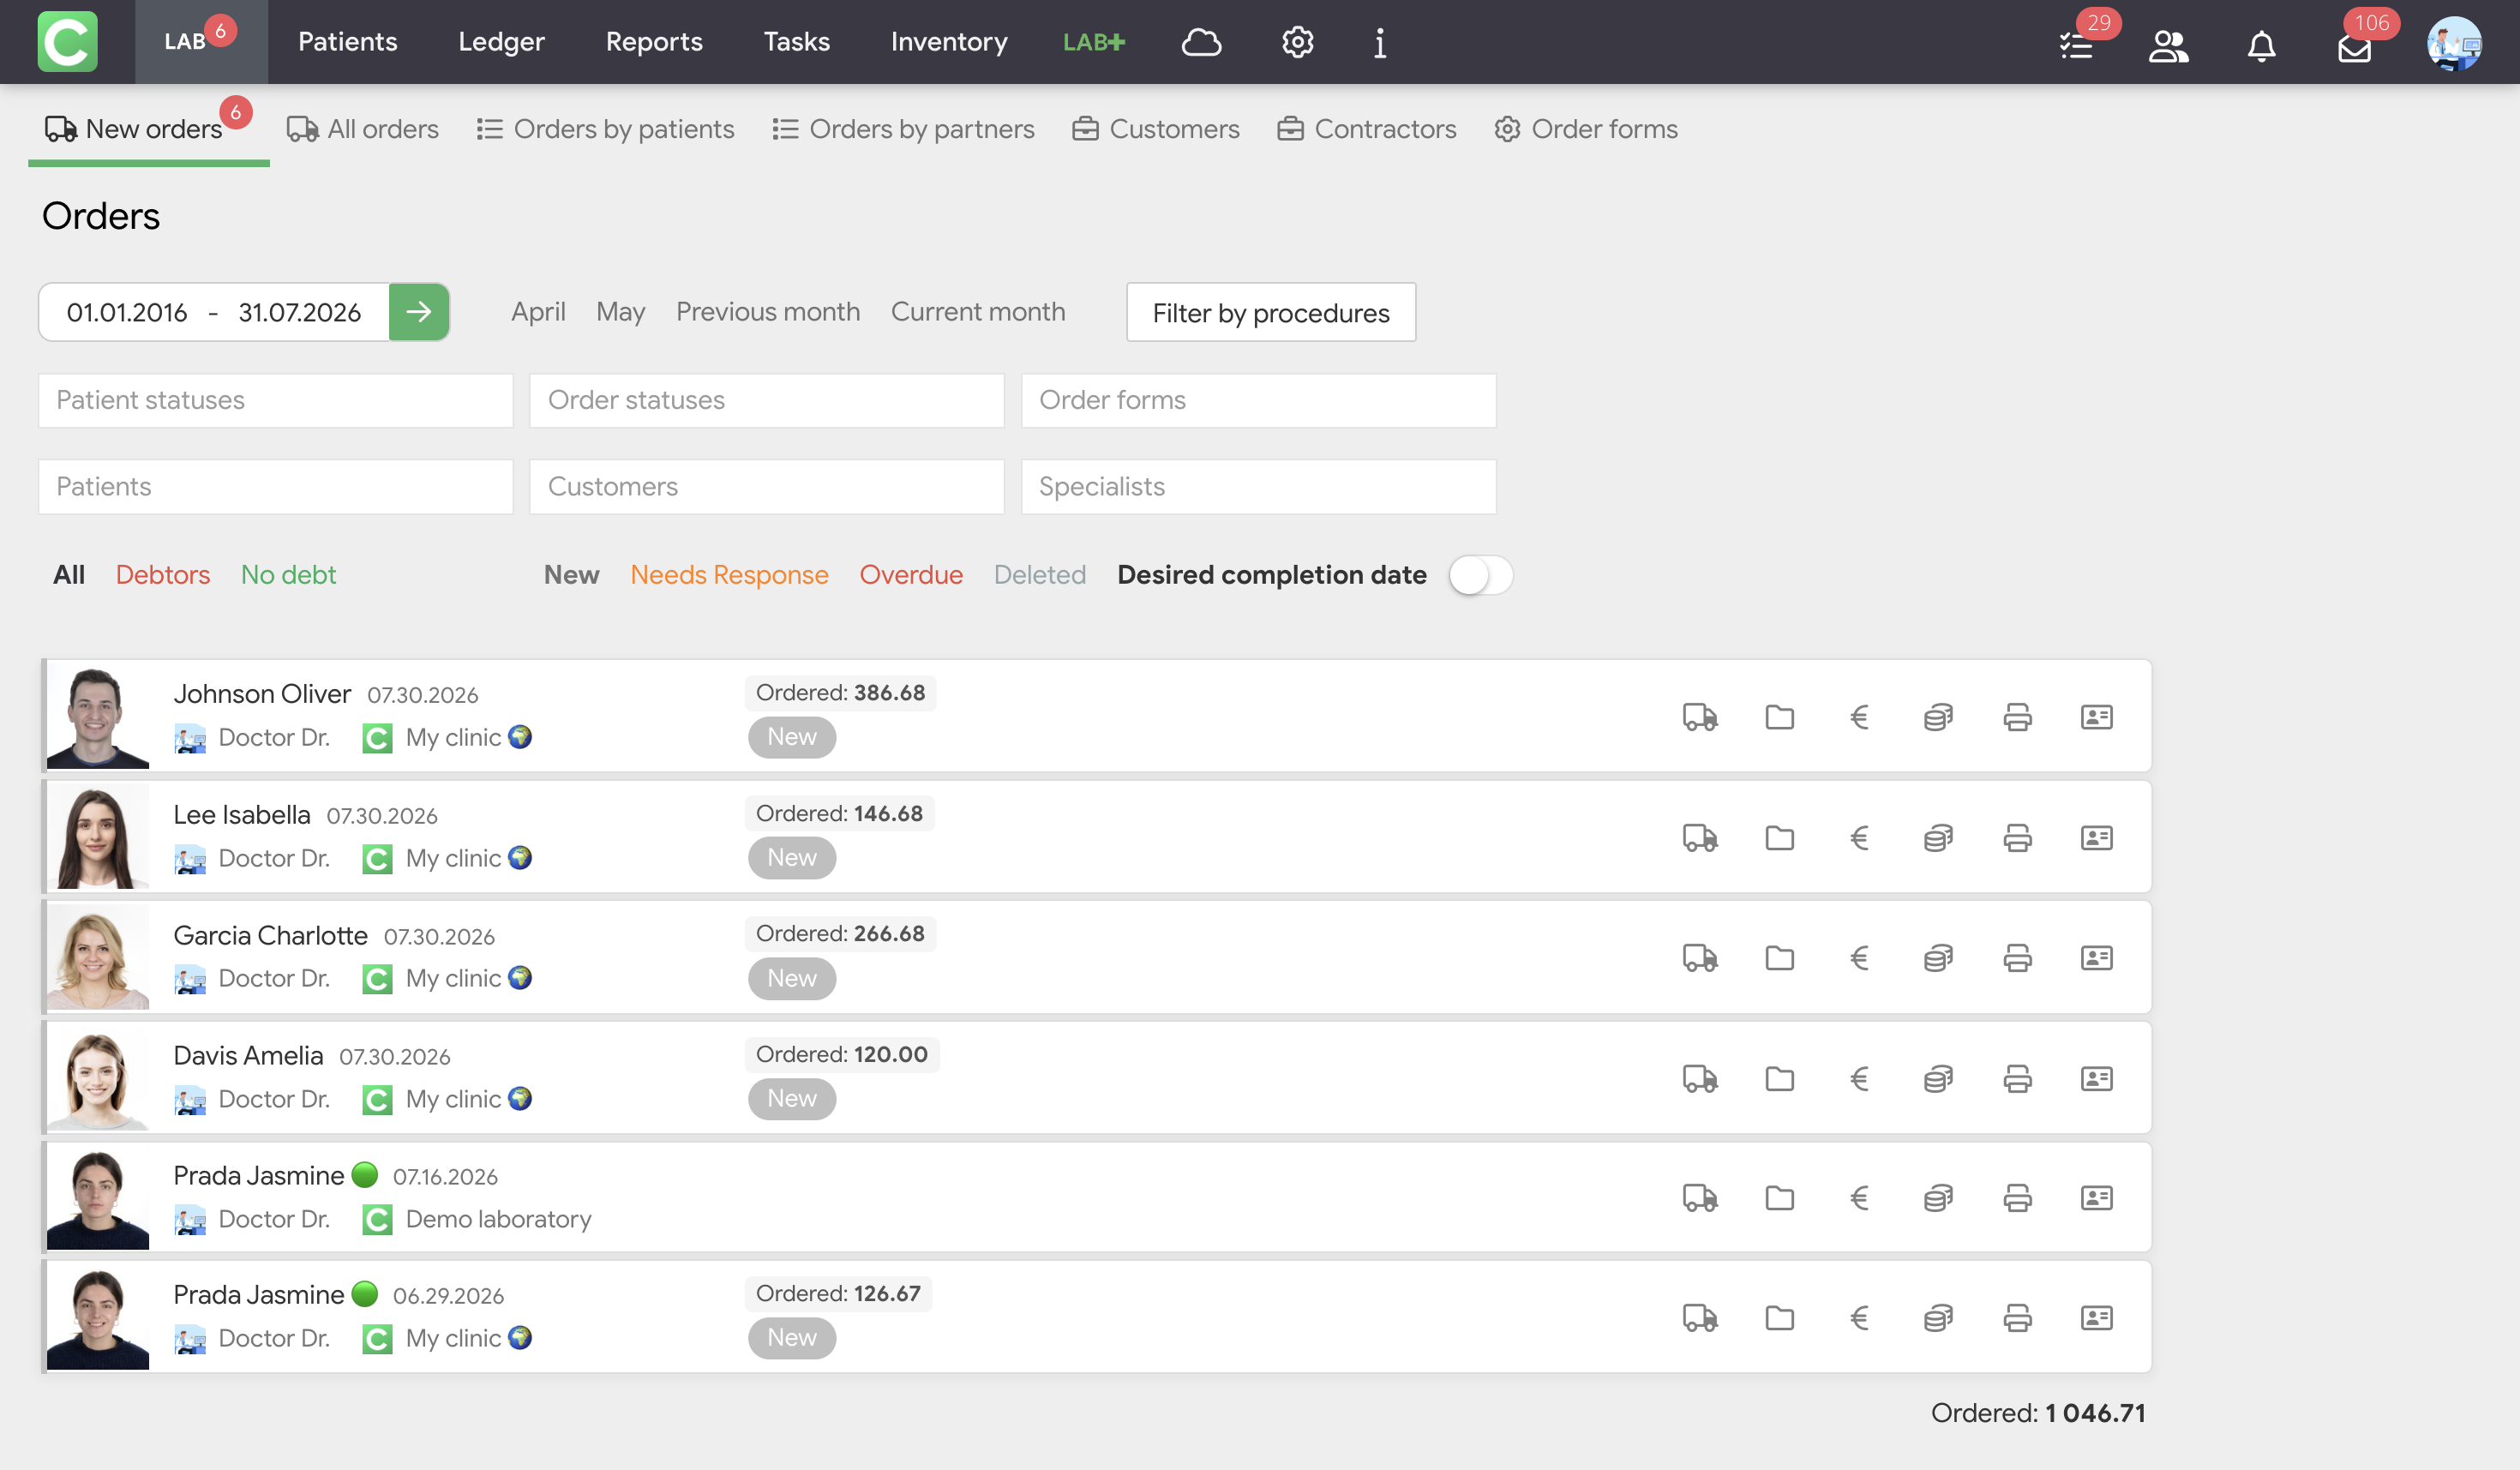
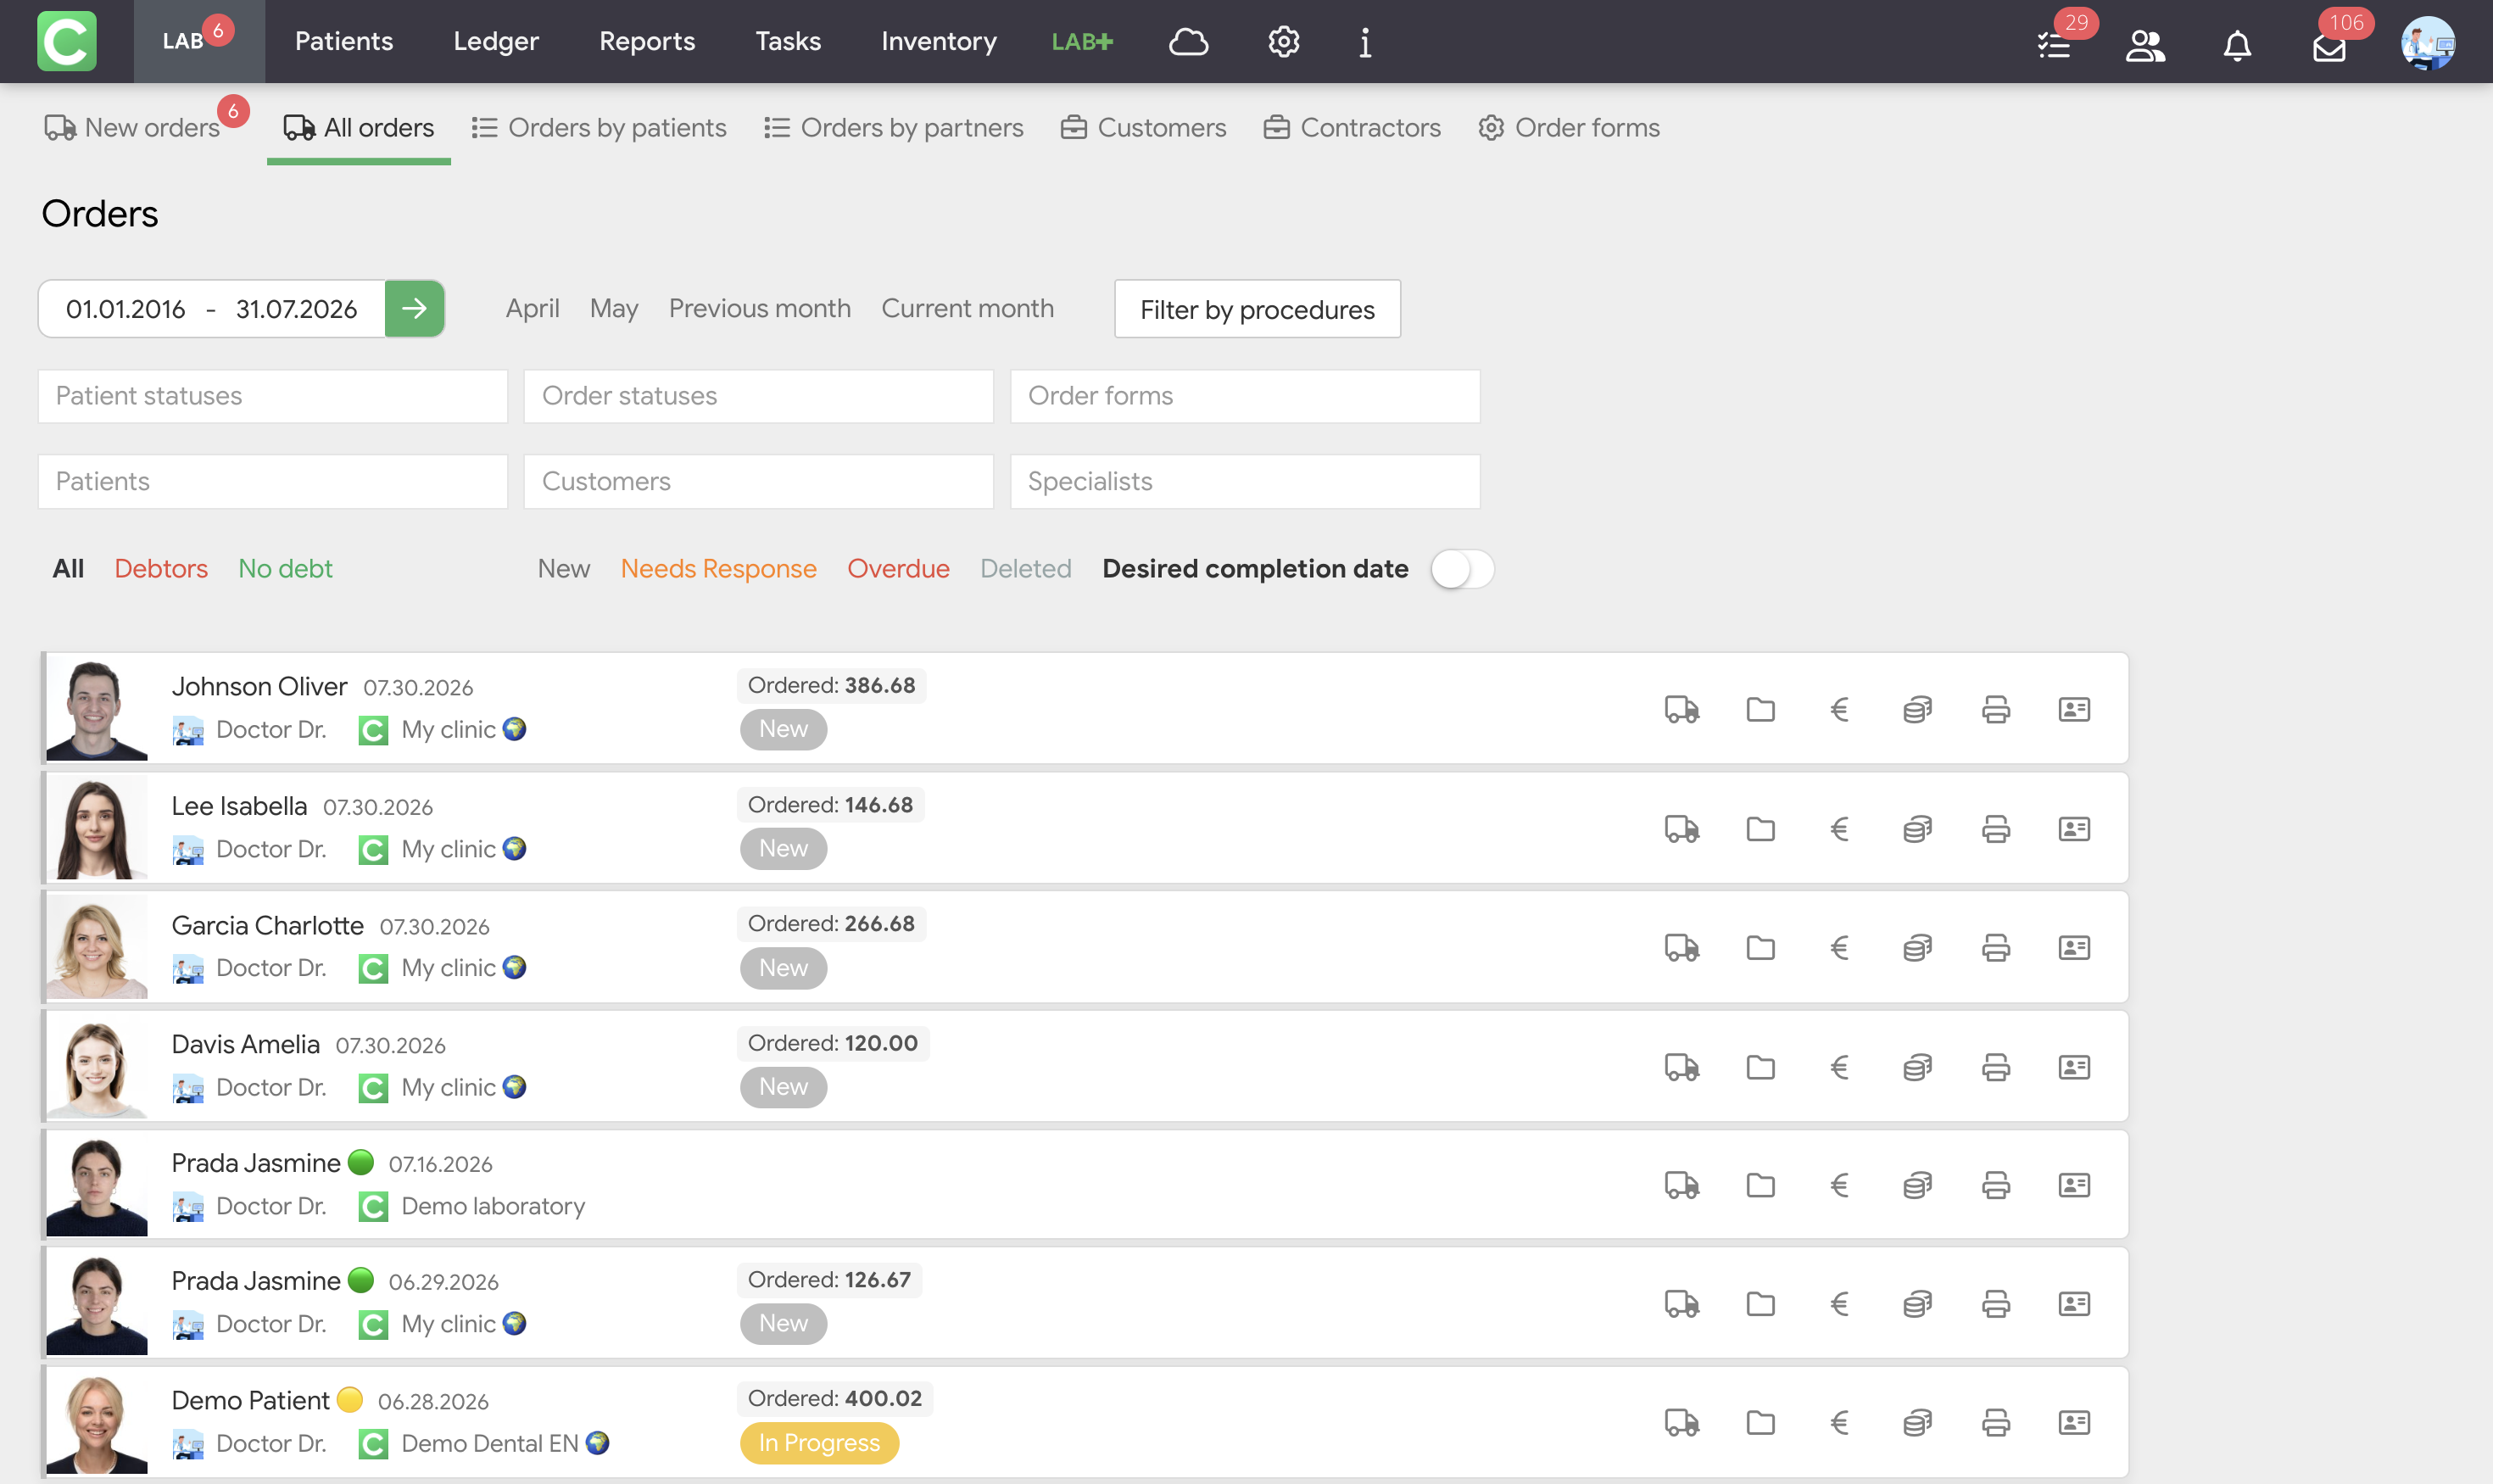
The main section of the module. It displays a complete list of all orders that have been received by the lab or created manually.
This section includes the following filters and sorting options:
Information in each order’s feed:
A summary table of laboratory orders with information about the ordering patients. It has the following columns:
A summary table of clinic orders with information about partner clinics. Each clinic has its row with summary data for all its orders.
The columns are structured similarly to the previous table. This table is useful for assessing financial relationships with each customer-clinic: which ones pay regularly, which have debts, and which generate the most orders.
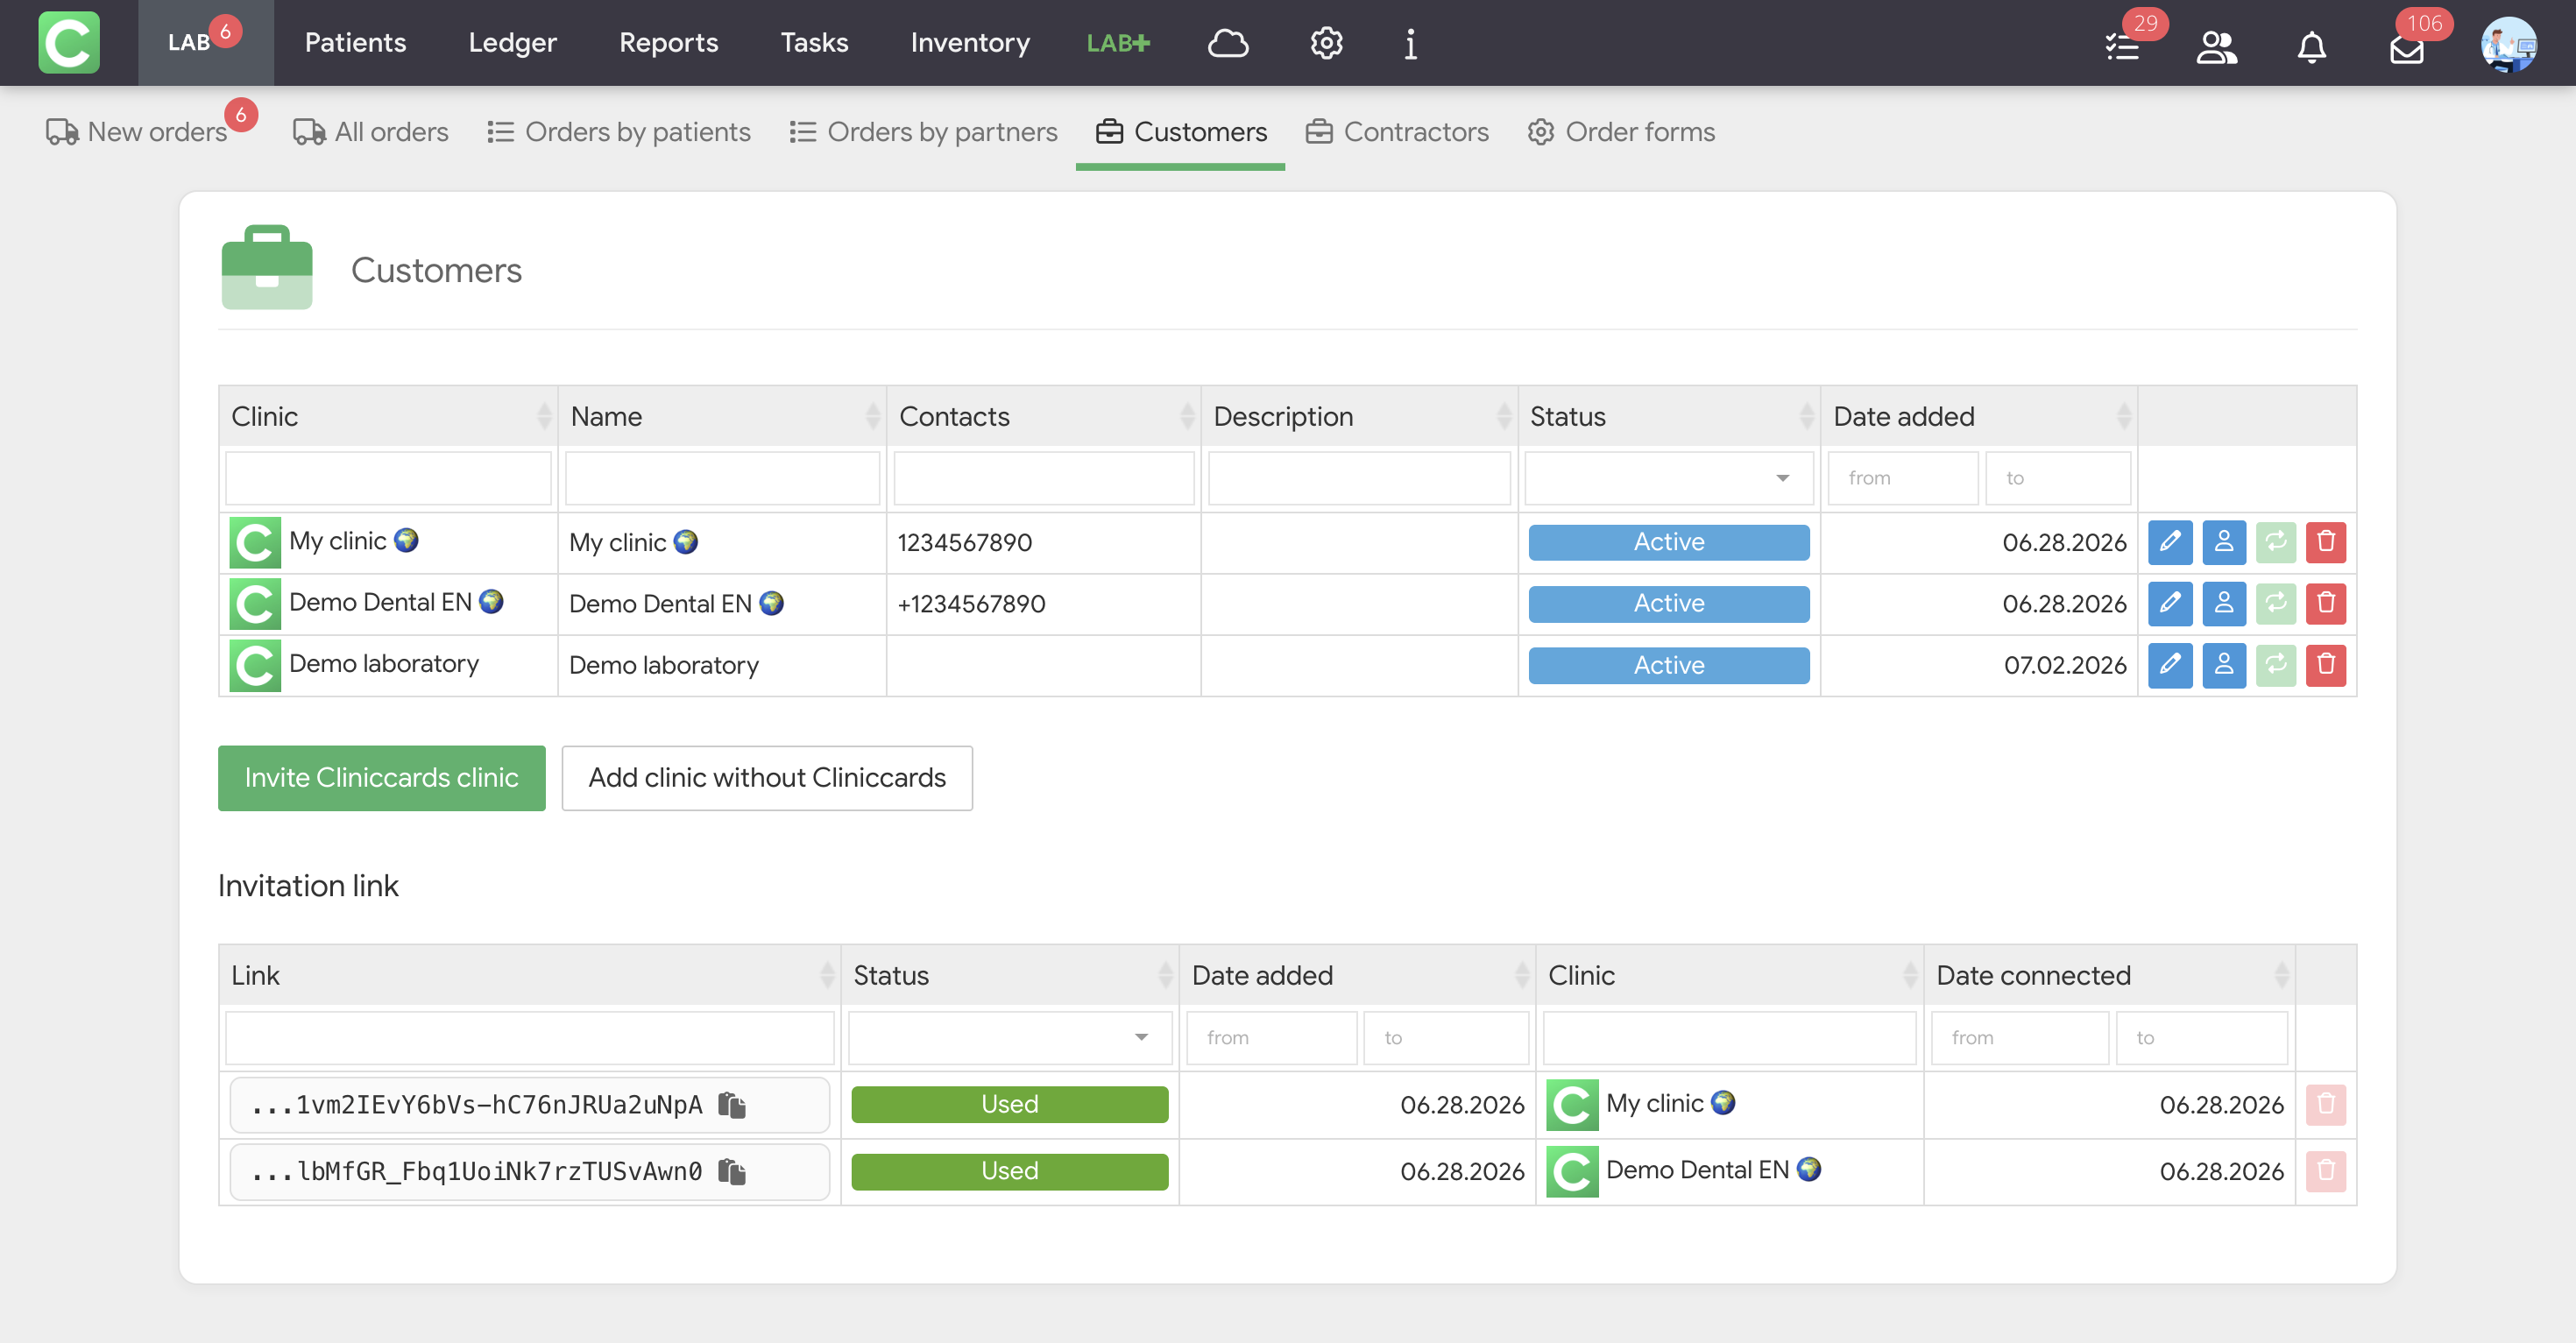
A list of all facilities with which the lab collaborates. The report displays: clinic name, contact information, description, status (active/deleted), and date added.
All actions related to clients – inviting, manually adding, and deleting – are performed here.
Inviting a Cliniccards clinic
To invite a clinic that is registered on Cliniccards to collaborate, click the green Invite Cliniccards clinic button, copy the link in a new window, and send it to a clinic representative. Once the link is clicked and confirmed, the clinic will appear in your list of customers.
All sent invitations are stored in the Invitation link table. It displays the link, status (Deleted/Active/Used), date added, the clinic that used the link, and the connection date. An active link can be deleted if it is no longer relevant.
If a facility sent you a link directly, simply click on it in your Cliniccards account. Once confirmed, the clinic is automatically added to your customer list.
Adding a clinic without Cliniccards
To invite a clinic that is not registered with Cliniccards to collaborate, click the Add clinic without Cliniccards button. In the new window, enter the name, contact information, and description, and add information about the specialist responsible for orders at this clinic. Save. This clinic will appear in your Customers list, and you can create orders for it manually via the Lab+ button or directly from the patient’s card.
Contractors are other laboratories to which your laboratory can outsource part of its work. For example, milling frameworks or scanning to a partner digital laboratory.
The process for working with this tab is similar to the Customers tab: you can invite another Cliniccards-affiliated lab or manually add a lab that isn’t on Cliniccards. Orders to subcontractors are created in the patient’s profile – using the same process as for clinics, except that your lab is the one sending the order.
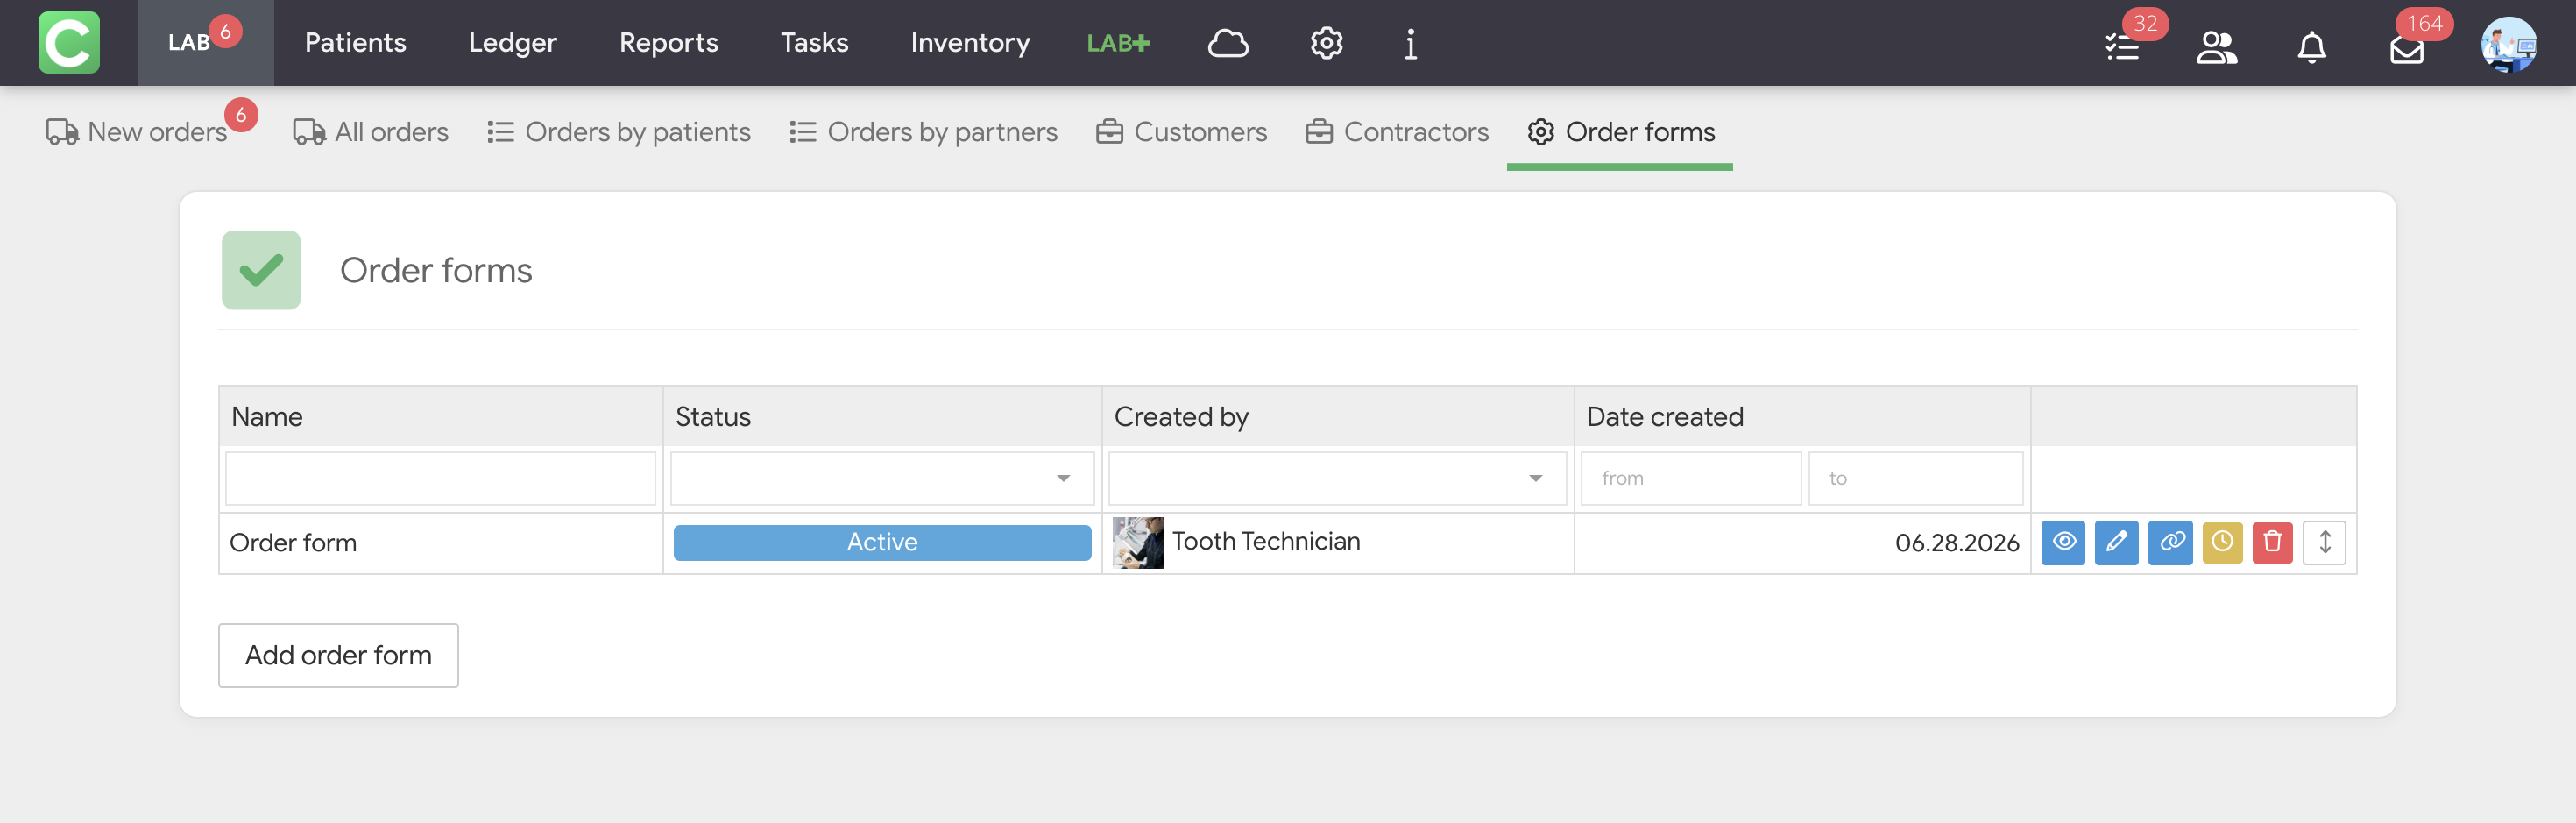
An order form is a template that the clinic fills out when creating a work order for your lab. The Order forms section contains a table where you can view the form’s name, status (Active, Inactive, Deleted), who created the form, and the creation date.
 , Edit
  , Link
  , Unconfirmed orders from the link
  , Delete
  , Сhange the order
To create an order form, follow these steps:
Each form has one of three statuses:
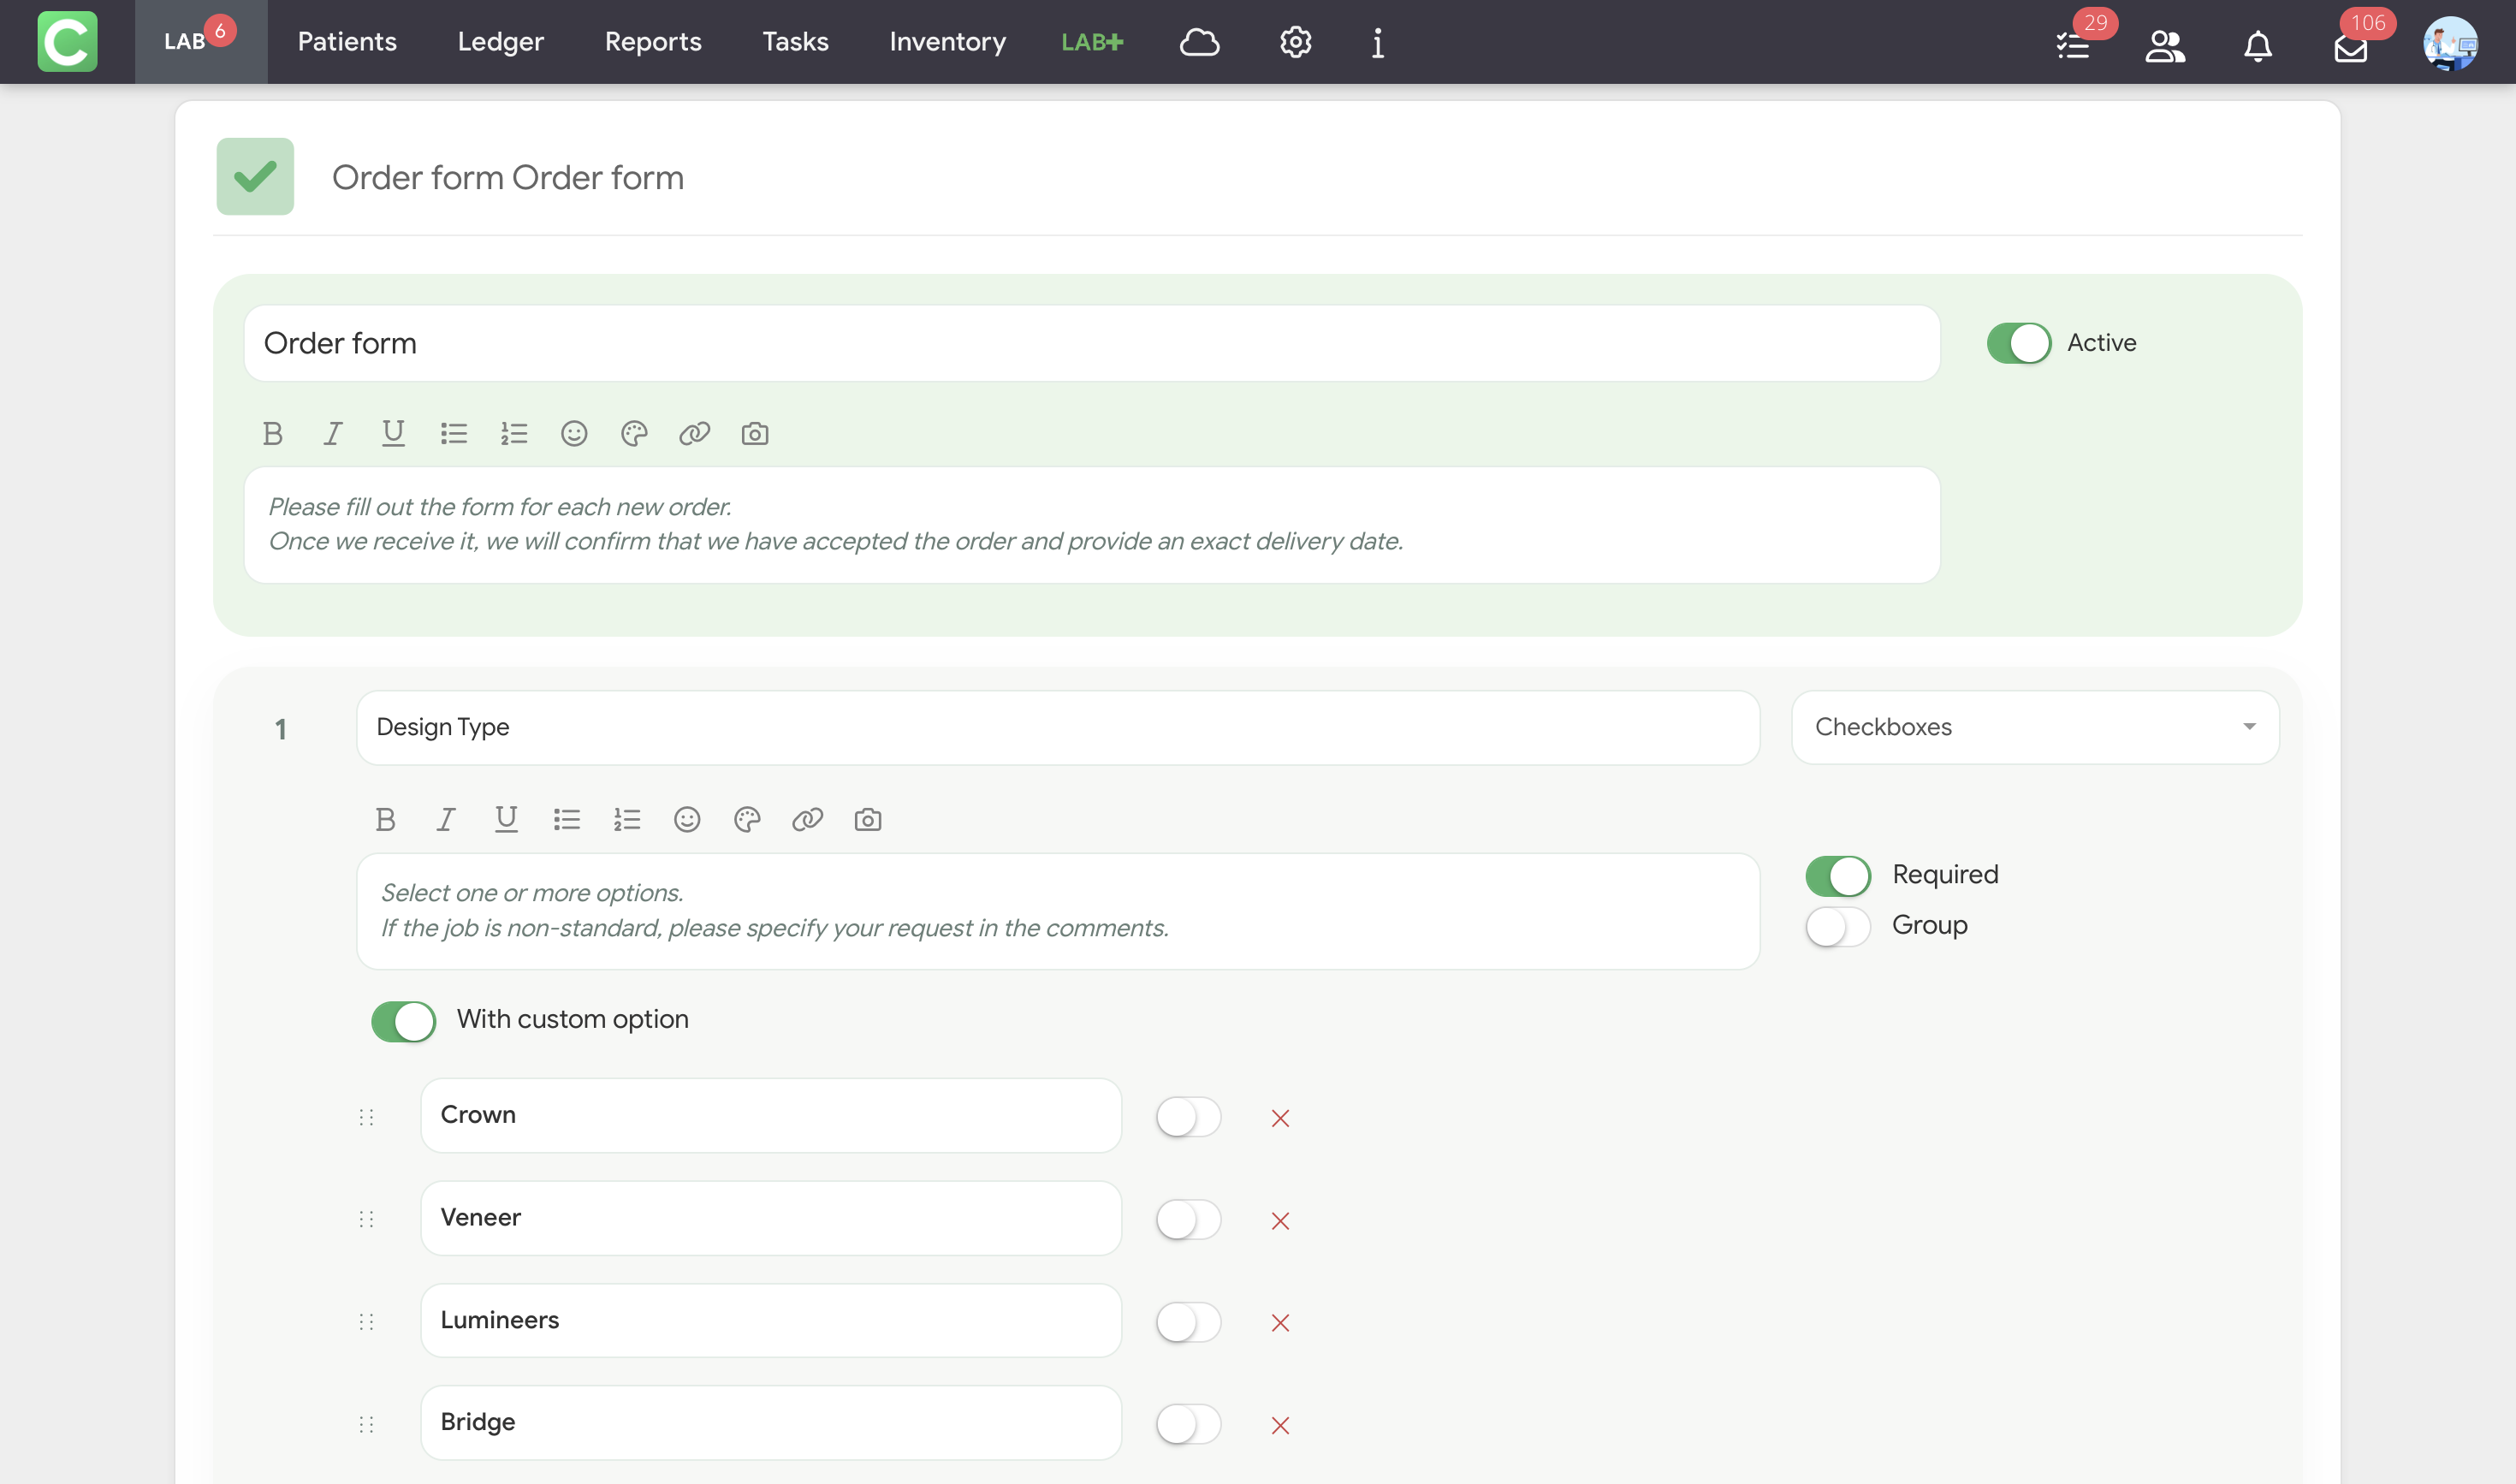
There are two approaches to creating forms:
Approach 1. One universal form
Create a single general form with basic fields: date, teeth, color, additional materials, and a dictation with comments. The dentist selects this form for any type of work and fills it out.
This approach is simpler and faster for the dentist but requires more attention when the lab processes the order – some details may not be fully filled out.
Approach 2. A separate form for each type of work
Create a separate form for each category of work: “Metal-Ceramic,” “CAD/CAM Zirconia,” “E.max Pressed,” etc. In each form, specify fields that are specific to that particular type of work. For example, for CAD/CAM Zirconia – design type, shade, sketches; for aligners – number of caps, movement scheme.
This approach ensures maximum accuracy. The dentist won’t forget to specify critical parameters, as required fields will prevent an incomplete order from being submitted.
Both approaches work. Many labs start with the first and gradually transition to the second as the need arises to specify the details of particular jobs.